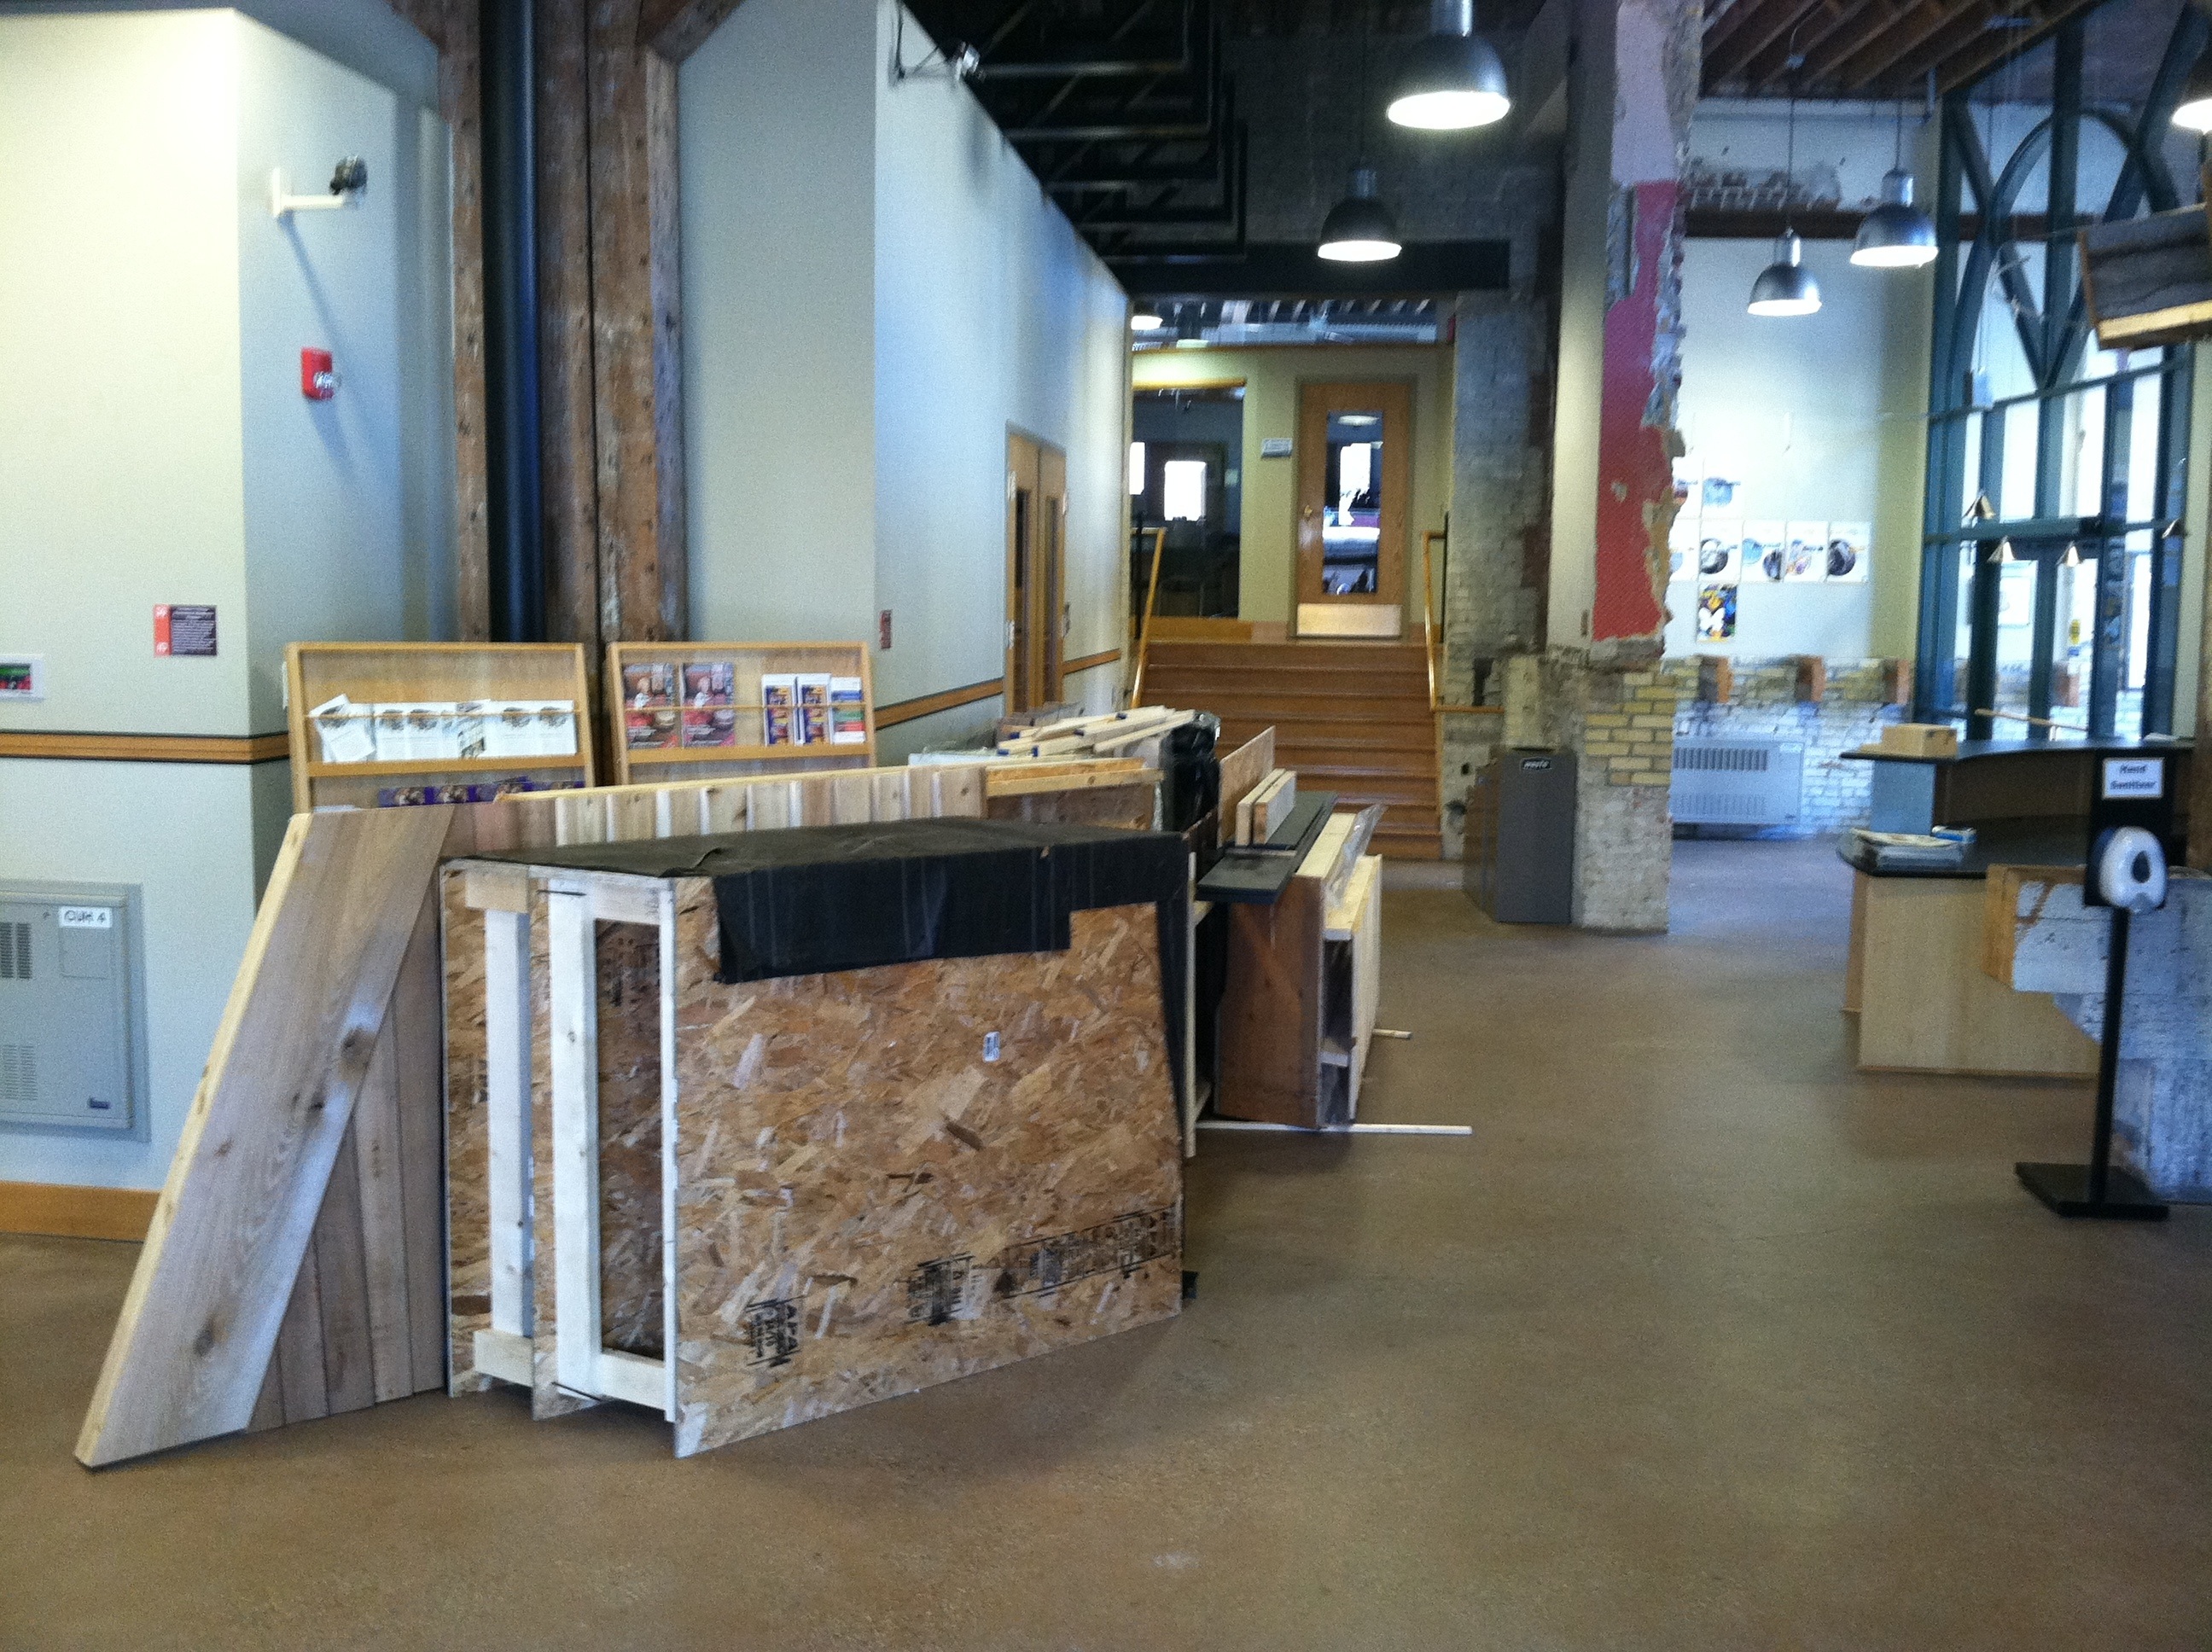
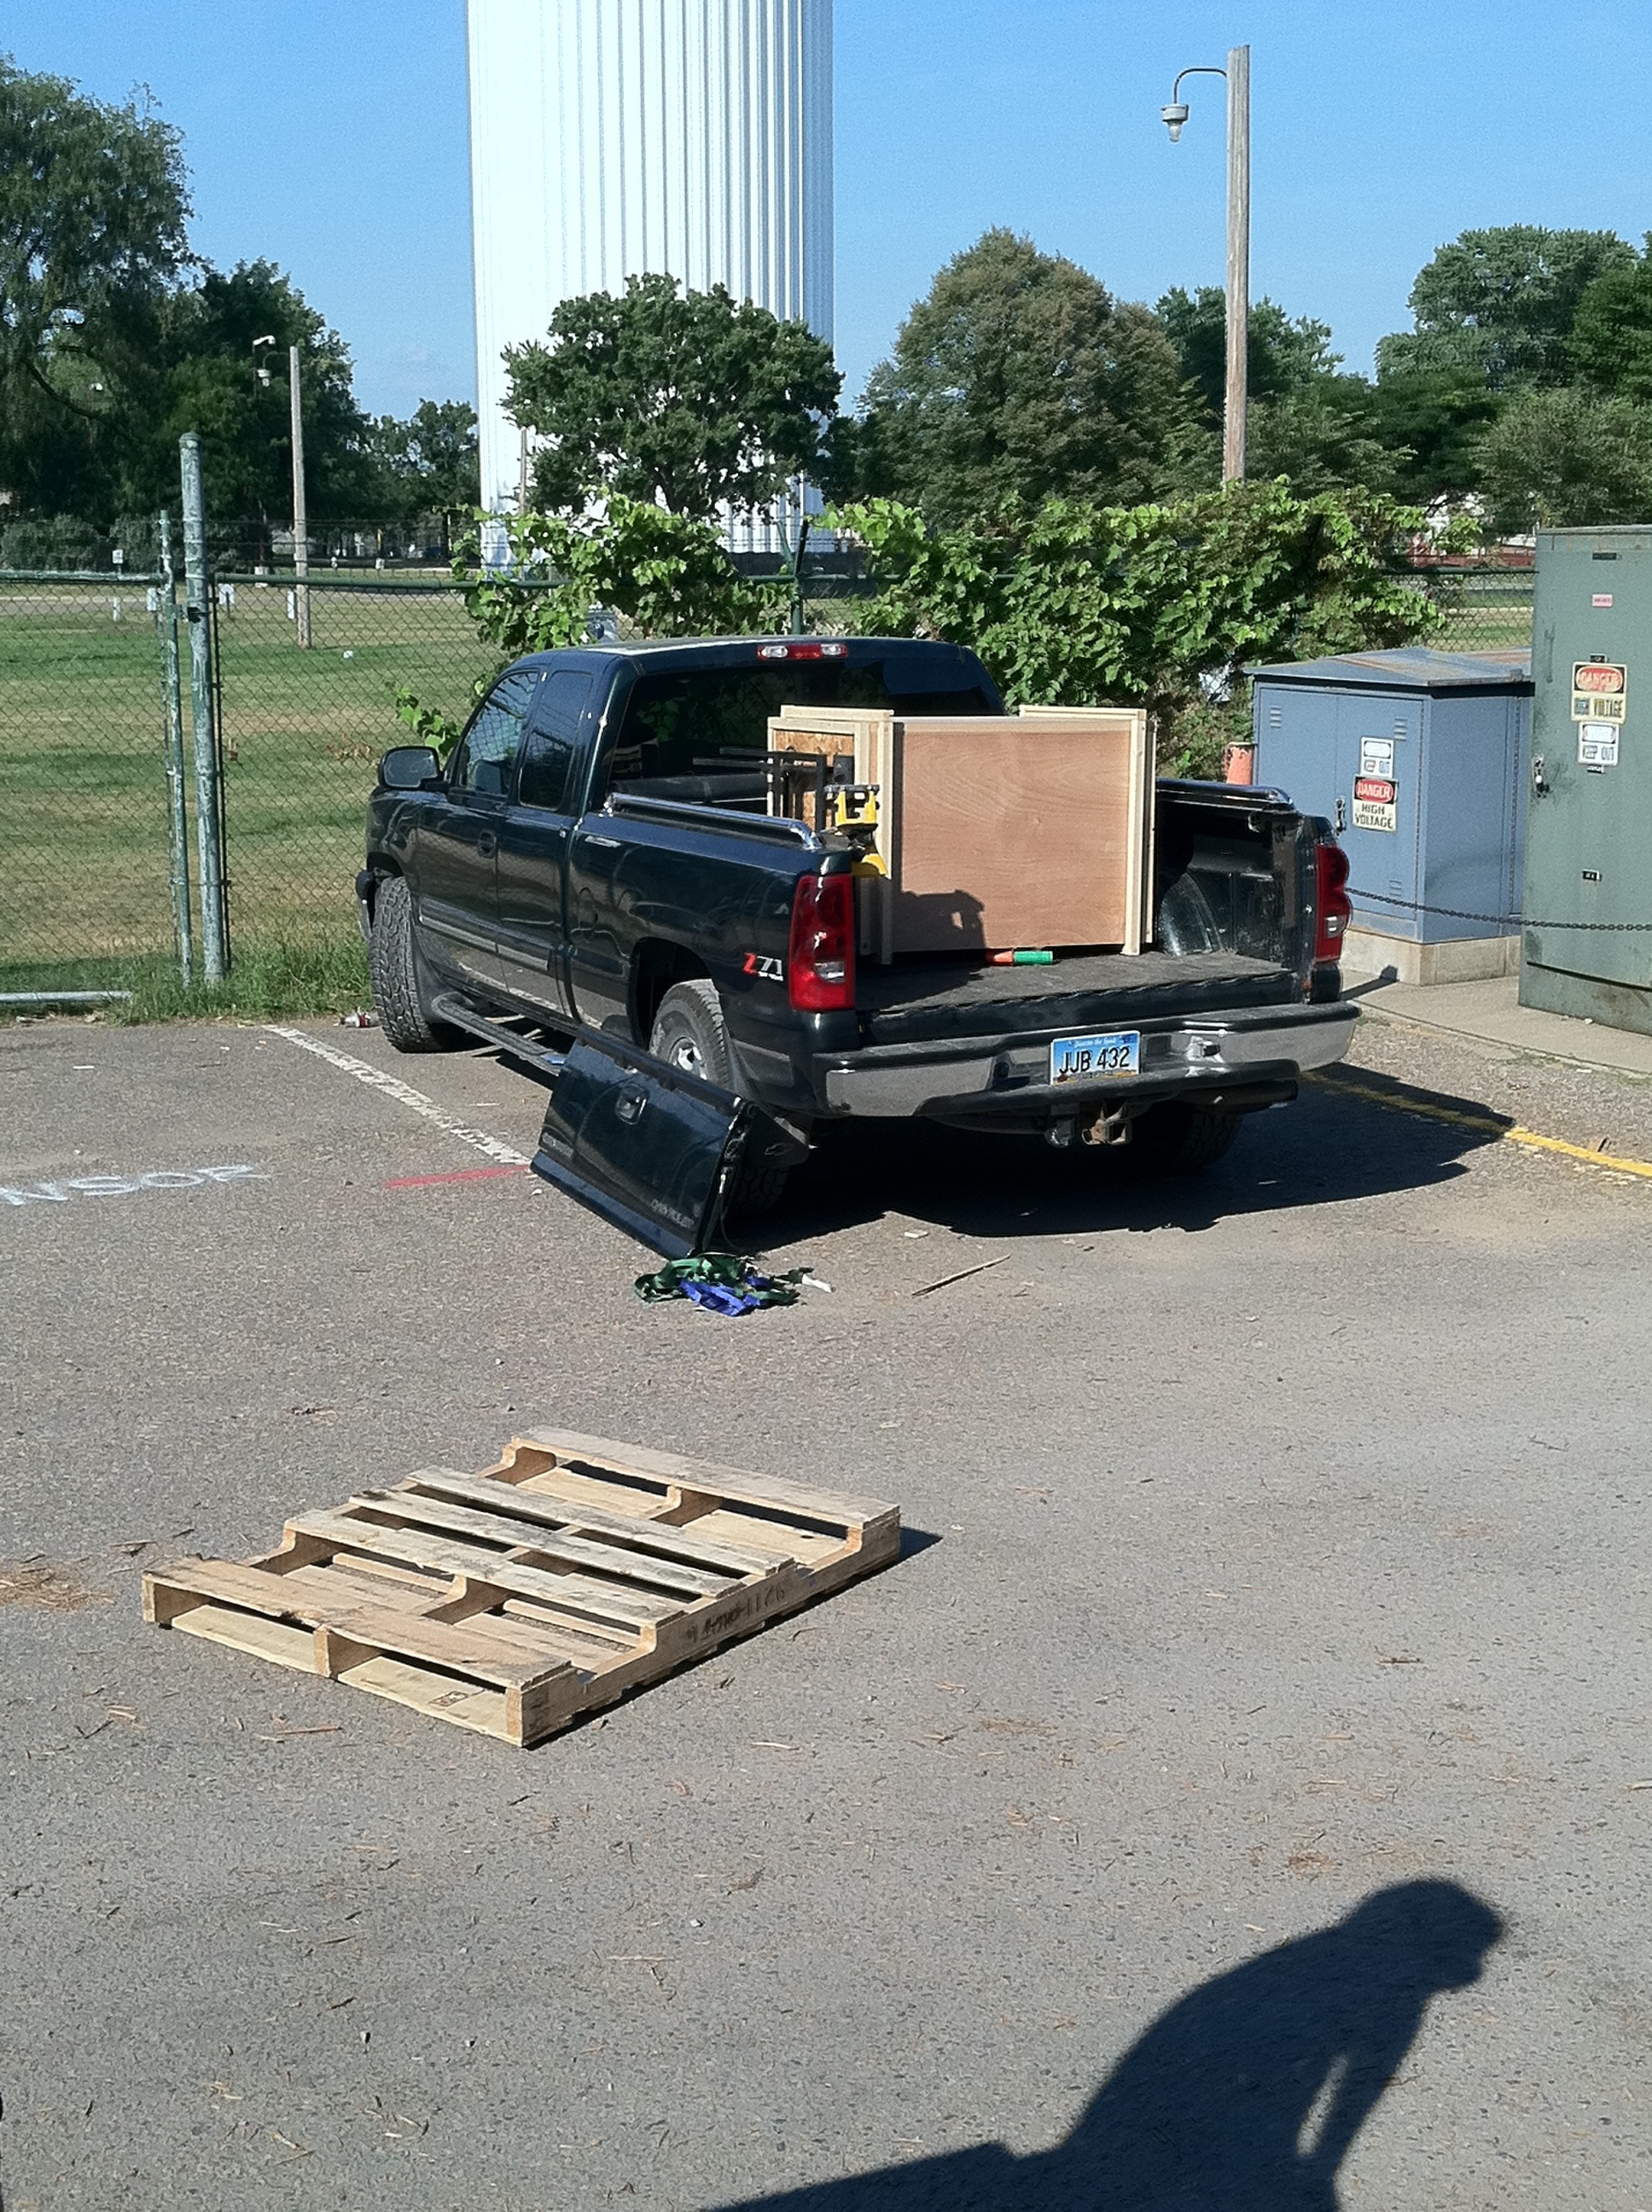
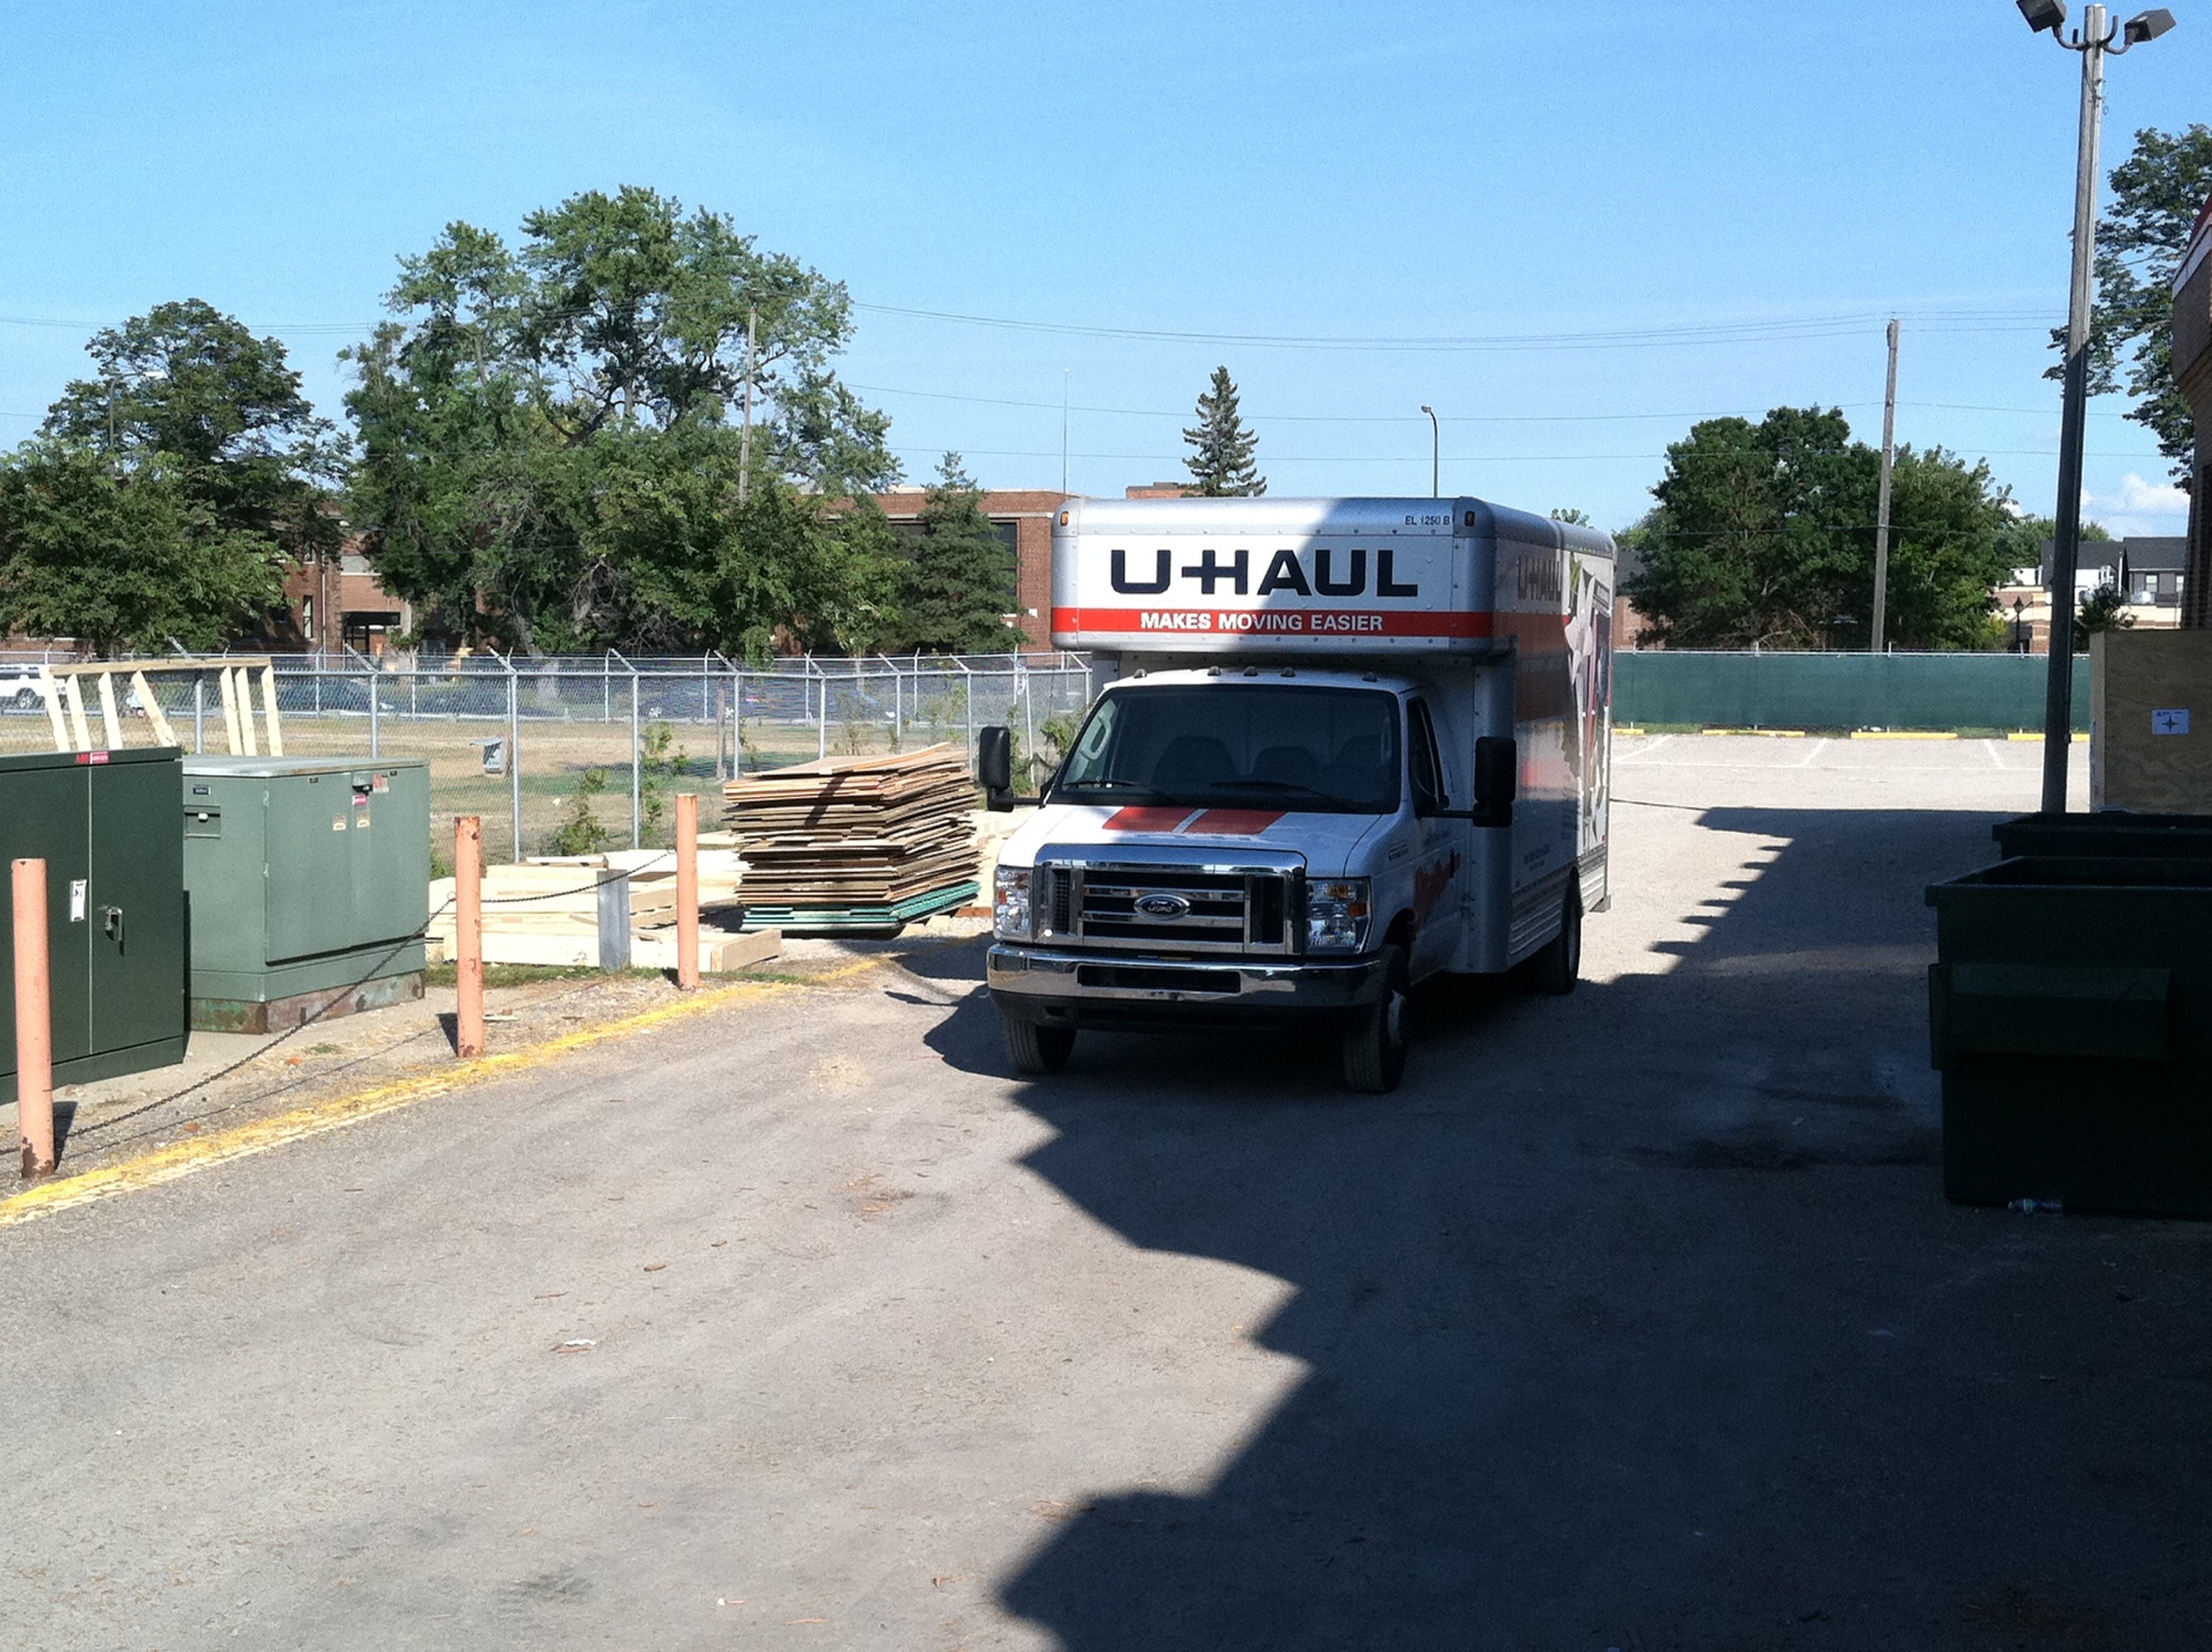
We finished unloading the U haul and all the materials and displays are safe and sound. The only issue was trying to decide where to put it. Something tells me we’ll be hearing about it Monday morning :)
We finished unloading the U haul and all the materials and displays are safe and sound. The only issue was trying to decide where to put it. Something tells me we’ll be hearing about it Monday morning :)
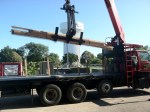
This truck has been through a lot in the past six weeks. From breaking down on the interstate, getting towed to a dealership, countless errands and sever trips to Fargo and back. All in all, she’s ready for a vacation.
So Peter and I showed up 15 minutes past our 1230 scheduled appointment to pick up our truck. Result: Budget closed for the day and took our truck with them! Solution: call U Haul and arrange for a different truck. In the end, it worked out quite well-the u haul truck had an extra foot!
All packed in and ready for Fargo!

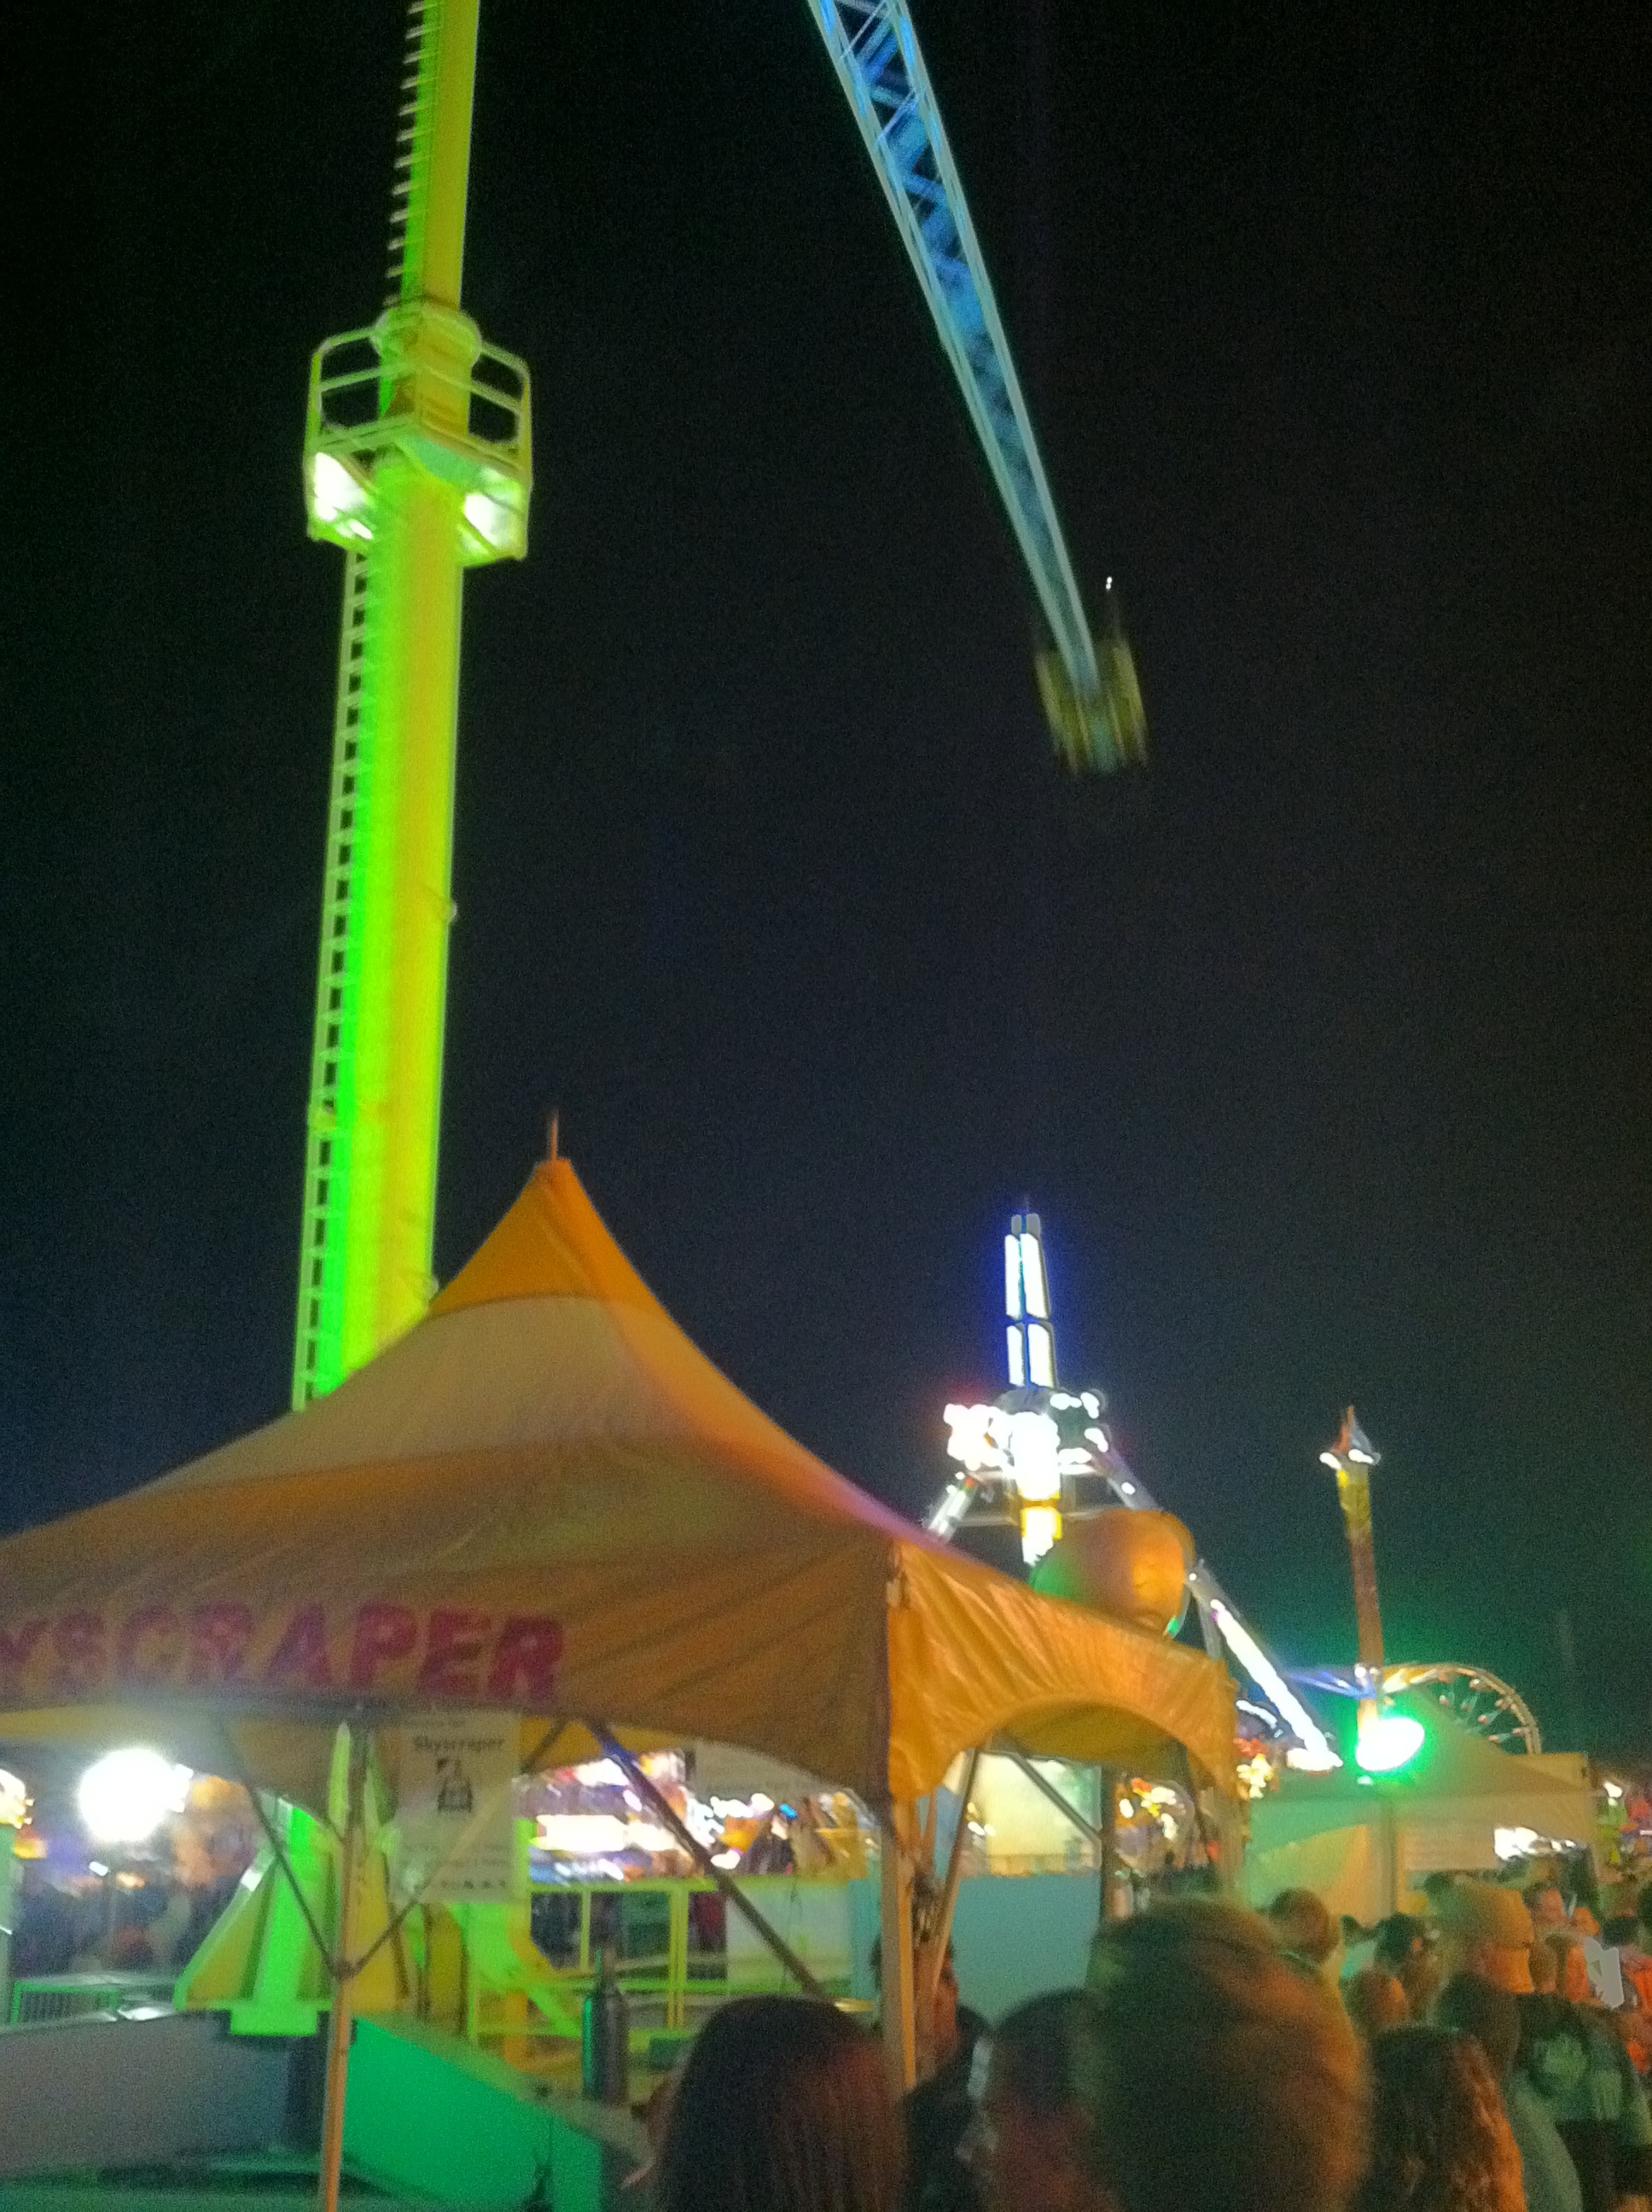
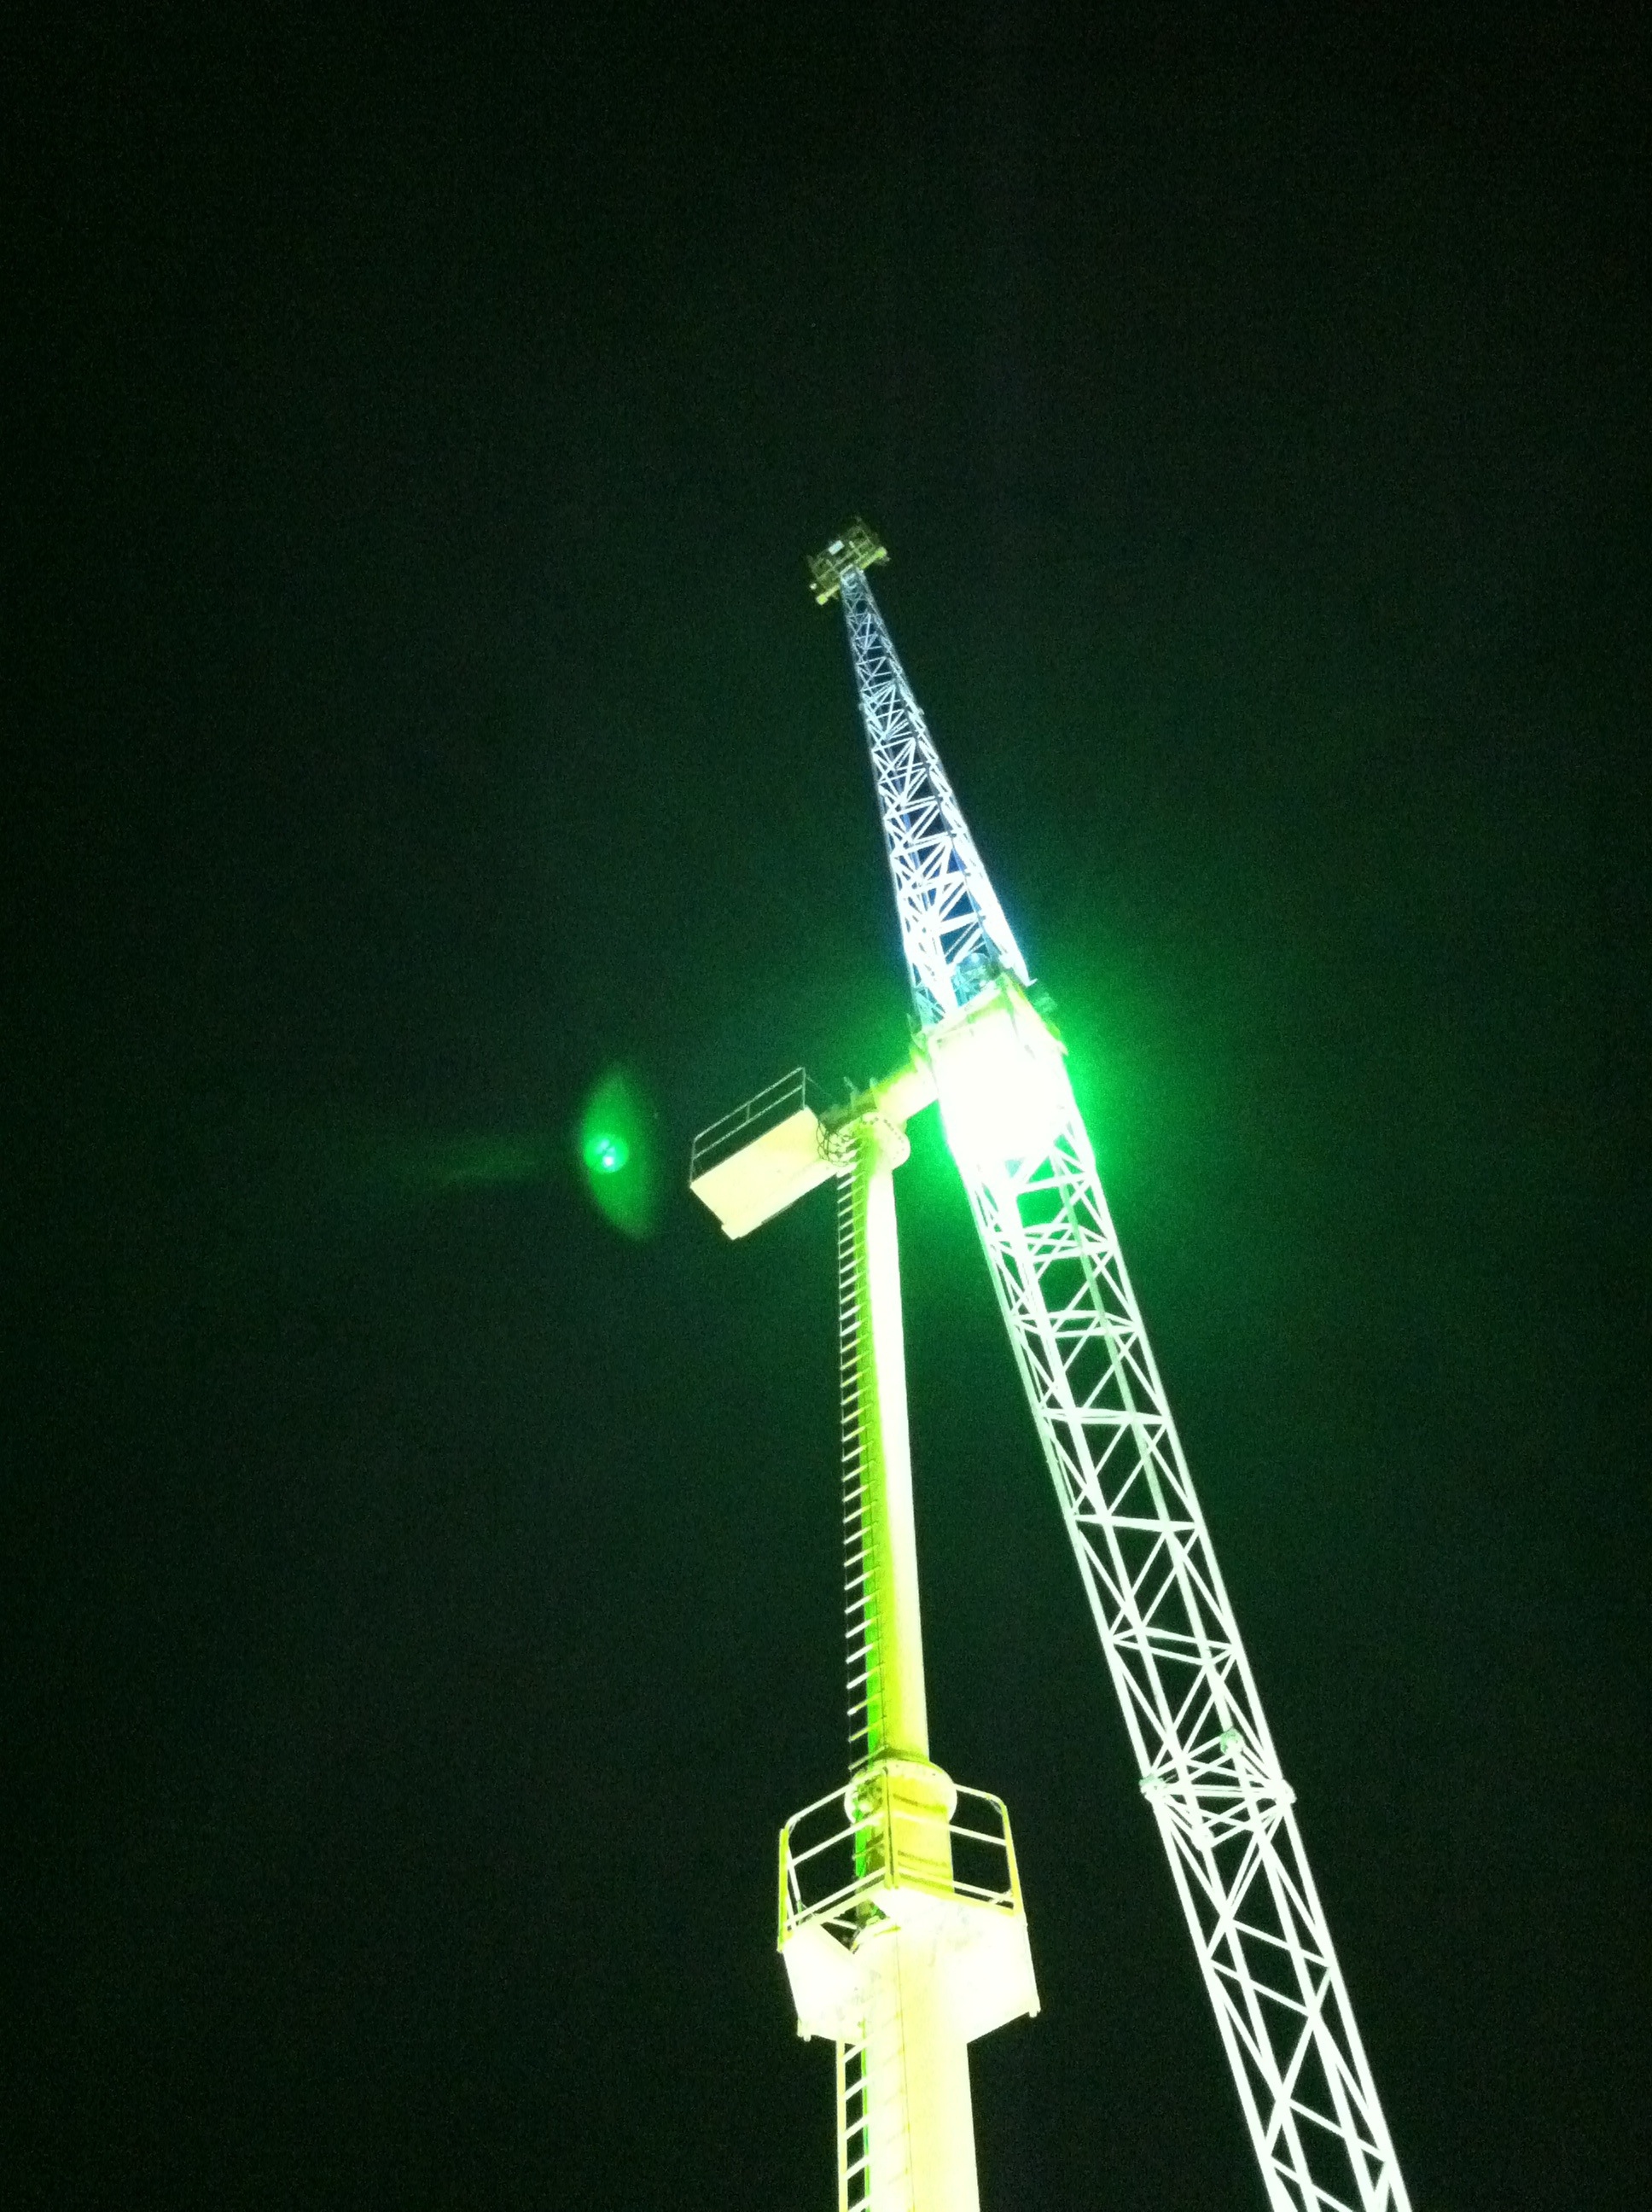
The pay offs to being a carnie…Ty convinced Brittany and I to end our shift with a little adrenaline rush
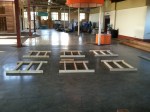
These are a few models Pauly D and I came up with for the entry bay:
 The full scale mock-up Shading Bay next to the scaled models:
 Again…:
 This was the drawing board that we used to work out ideas for the tension system:
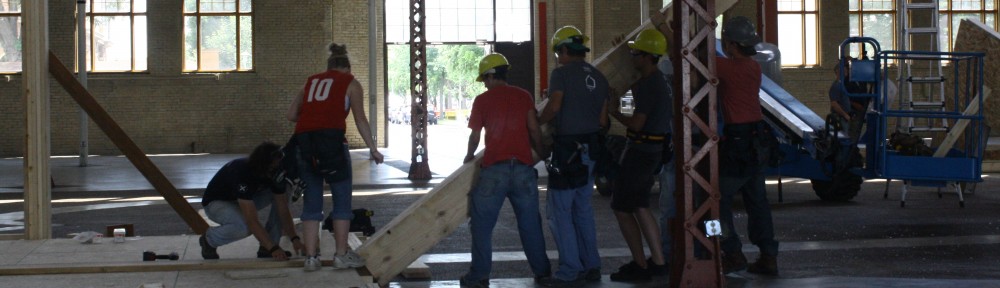
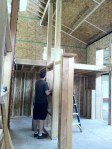
Today we managed to get all of the columns sanded and fastened together. The sanding proved to take much longer than expected but the end result was worth the effort.
 We were pretty excited about how straight we could get them considered the individuals sticks were not so straight to begin with.
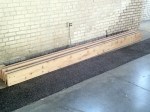
The group also managed to finish the floor for the shading structure. Picking up from yesterday, the pairs of “inner” floors were sheathed with 1/2″ OSB and joined together separated by 2×6 members. The pairs were flipped upside down (OSB face down) and the 2×6’s were attached. The OSB needs to be flush with the top edge of the 2×6, so the photo below shows the bottom side of the floor.

In order to relieve some of the loads on the suspended 2×4 ‘s, we attached some shims from our scrap pile that would increase the depth of the OSB and 2×4 and bring it exactly to that of a 2×6.


So today the wood showed up for our shading structure. After much anticipation we were finally able to begin! Most of the morning was spent sorting and pairing up the 2x8x12′ for the first row of columns. Each member was paired with another primarily based on both color/tone, and crown direction. After pairs were matched, we marked out the bolt placements and starting drilling holes through sets of pairs. After all of the holes were drilled they were off to the sander. Palm sanding action with some finely gritted paper smoothened each stick out to a smooth finish. When sanding was through it was time to start fastening the pairs together. Shortly after laying out the hole placement on the 12 footers, I began cutting the 14 footers to exact length and the previous process was repeated for this set. Later, Lyle and Melissa began assembling the floor structure. Some photos of the process thus far:
Tuesday, August 9th 2011
Task :
– Pauly D and I set out to retrieve our hardware (turnbuckles, fasteners, ect.)
Hope:
– To retrieve “all” of our hardware. Our several shipments will be there, on time, and ready for us to retrieve.
Outcome:
– We return to the site with “some” of our hardware.
Lesson Learned:
– Sometimes, and I mean sometimes, the person helping you is slightly less enthusiastic about the urgency of your requests. The thing in the catalog is not always the thing that you had in mind or the thing that was described after hearing your idea of the thing. You don’t always get what you want…
But Paul and I score some pretty cool turnbuckles.
Task:
-Pair up and prepare the wood for the shading structure……wood did not show up.
Lesson Learned:
-Your project doesn’t always succeed the priority of other projects. Although discouraging, it shouldn’t be demotivating.
Task:
– Finish Wrapping the LVL’s with cedar. Chris and I set out to finish wrapping the existing columns with cedar 1x’s. He’s been a great help in the success of a lot of these projects. He keeps things at a high pace and is really interested in what’s going on. With his help we were able to finish the deal in good time…
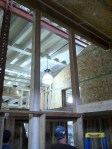
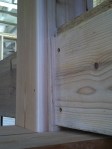
Today I had hoped to wrap two 14′ LVL columns with 1×6 cedar boards. The task seemed easy; per column – cut four 1″x6″x16′ cedar boards to 14’10 5/8″..check. After this step two boards are considered ready for prep, considering they needed to be 5 1/2 inches wide and the actual width of a 1×6 is 5 1/2 inches..BOOM…easy! Then, rip the other two boards to 3 3/4″ wide (these will go inside the two 5 1/2″ boards, which (2) 7/8″ thick boards plus 3 3/4″ equals 5 1/2″…BOOM…not so easy when you cut them to 3 1/4″! This meant, that the scraps of these boards had to be paired up, glued, and stapled back together, seamed (mixture of cedar saw dust and white wood glue to make a putty), and sanded. AND then they would be ready for final fixation! With some moral support and a lot of self-patience (most of which was exhausted by 3:30 break, ONE of the columns was finished. The second and pictures will follow in the morning :)
