Day 14 – Camera B
Image
Reply


-Ty
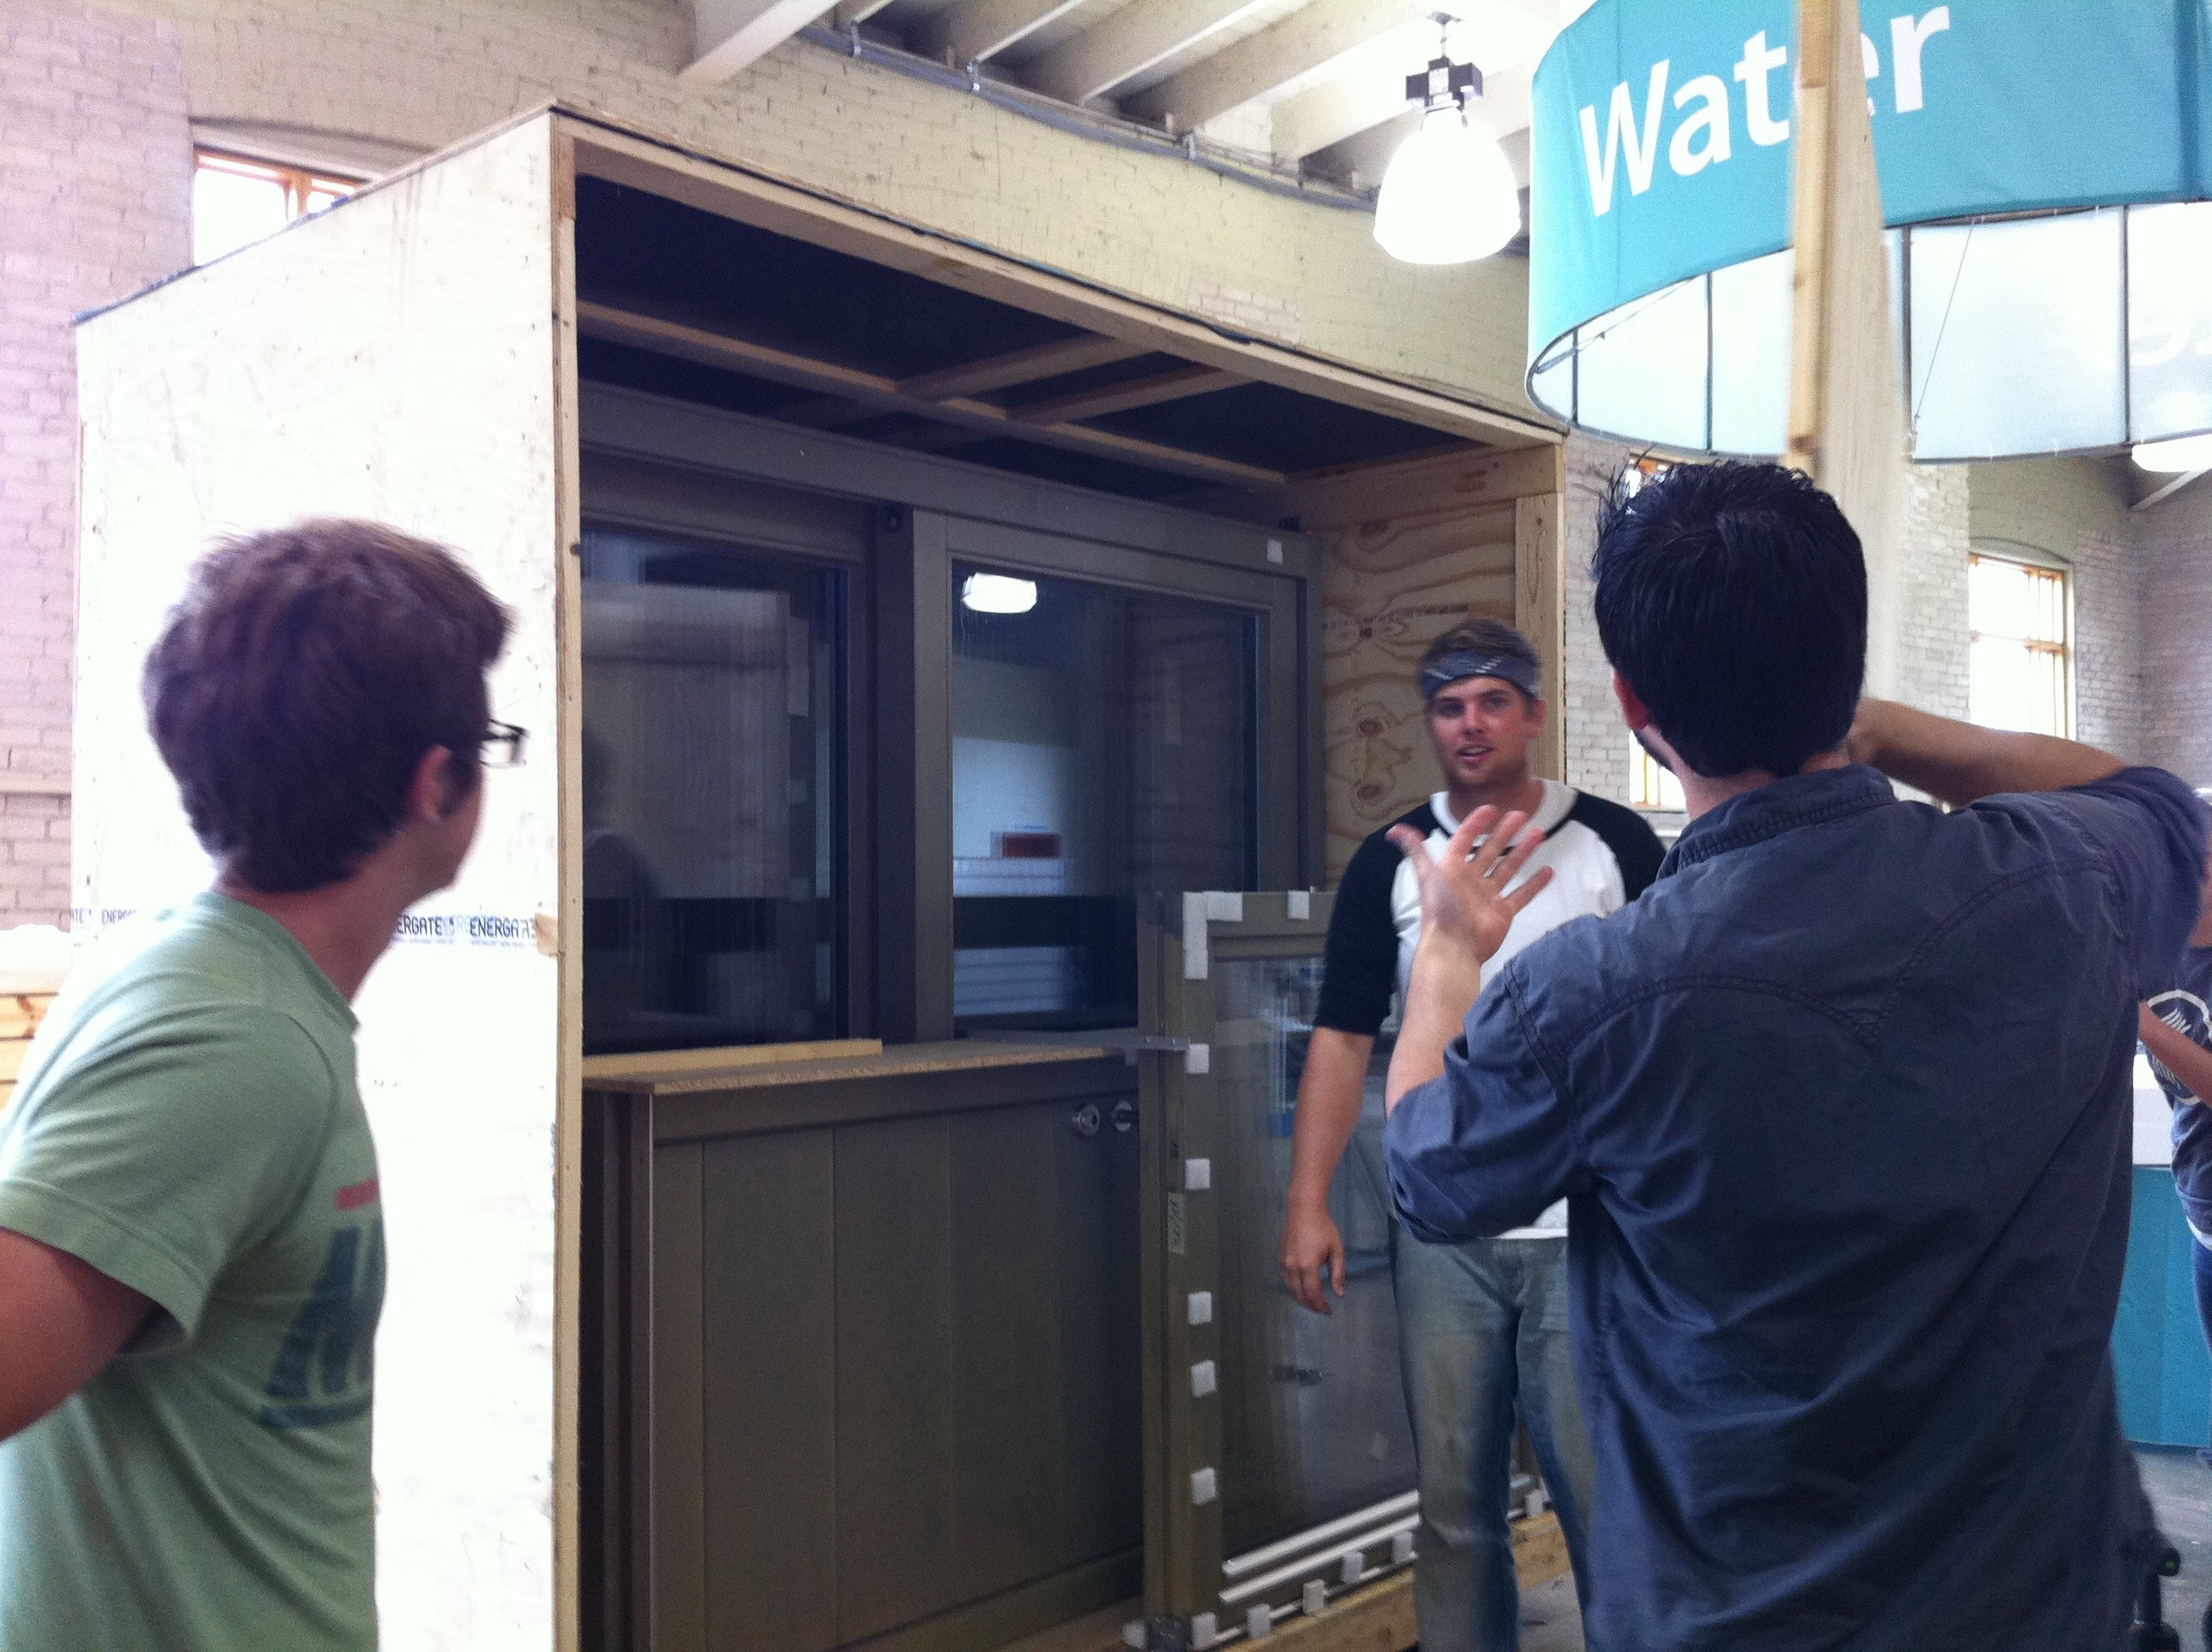
1100 kg worth of windows!

-Ty

-Ty
In frustration, would be the one and only word that could sum up a day like today. To bad my frustration was not toward anyone in particular but an object or better yet a window. This is not just some ordinary window oh no, it is the window that seems to be the most difficult and stuburn thing in the entire world.
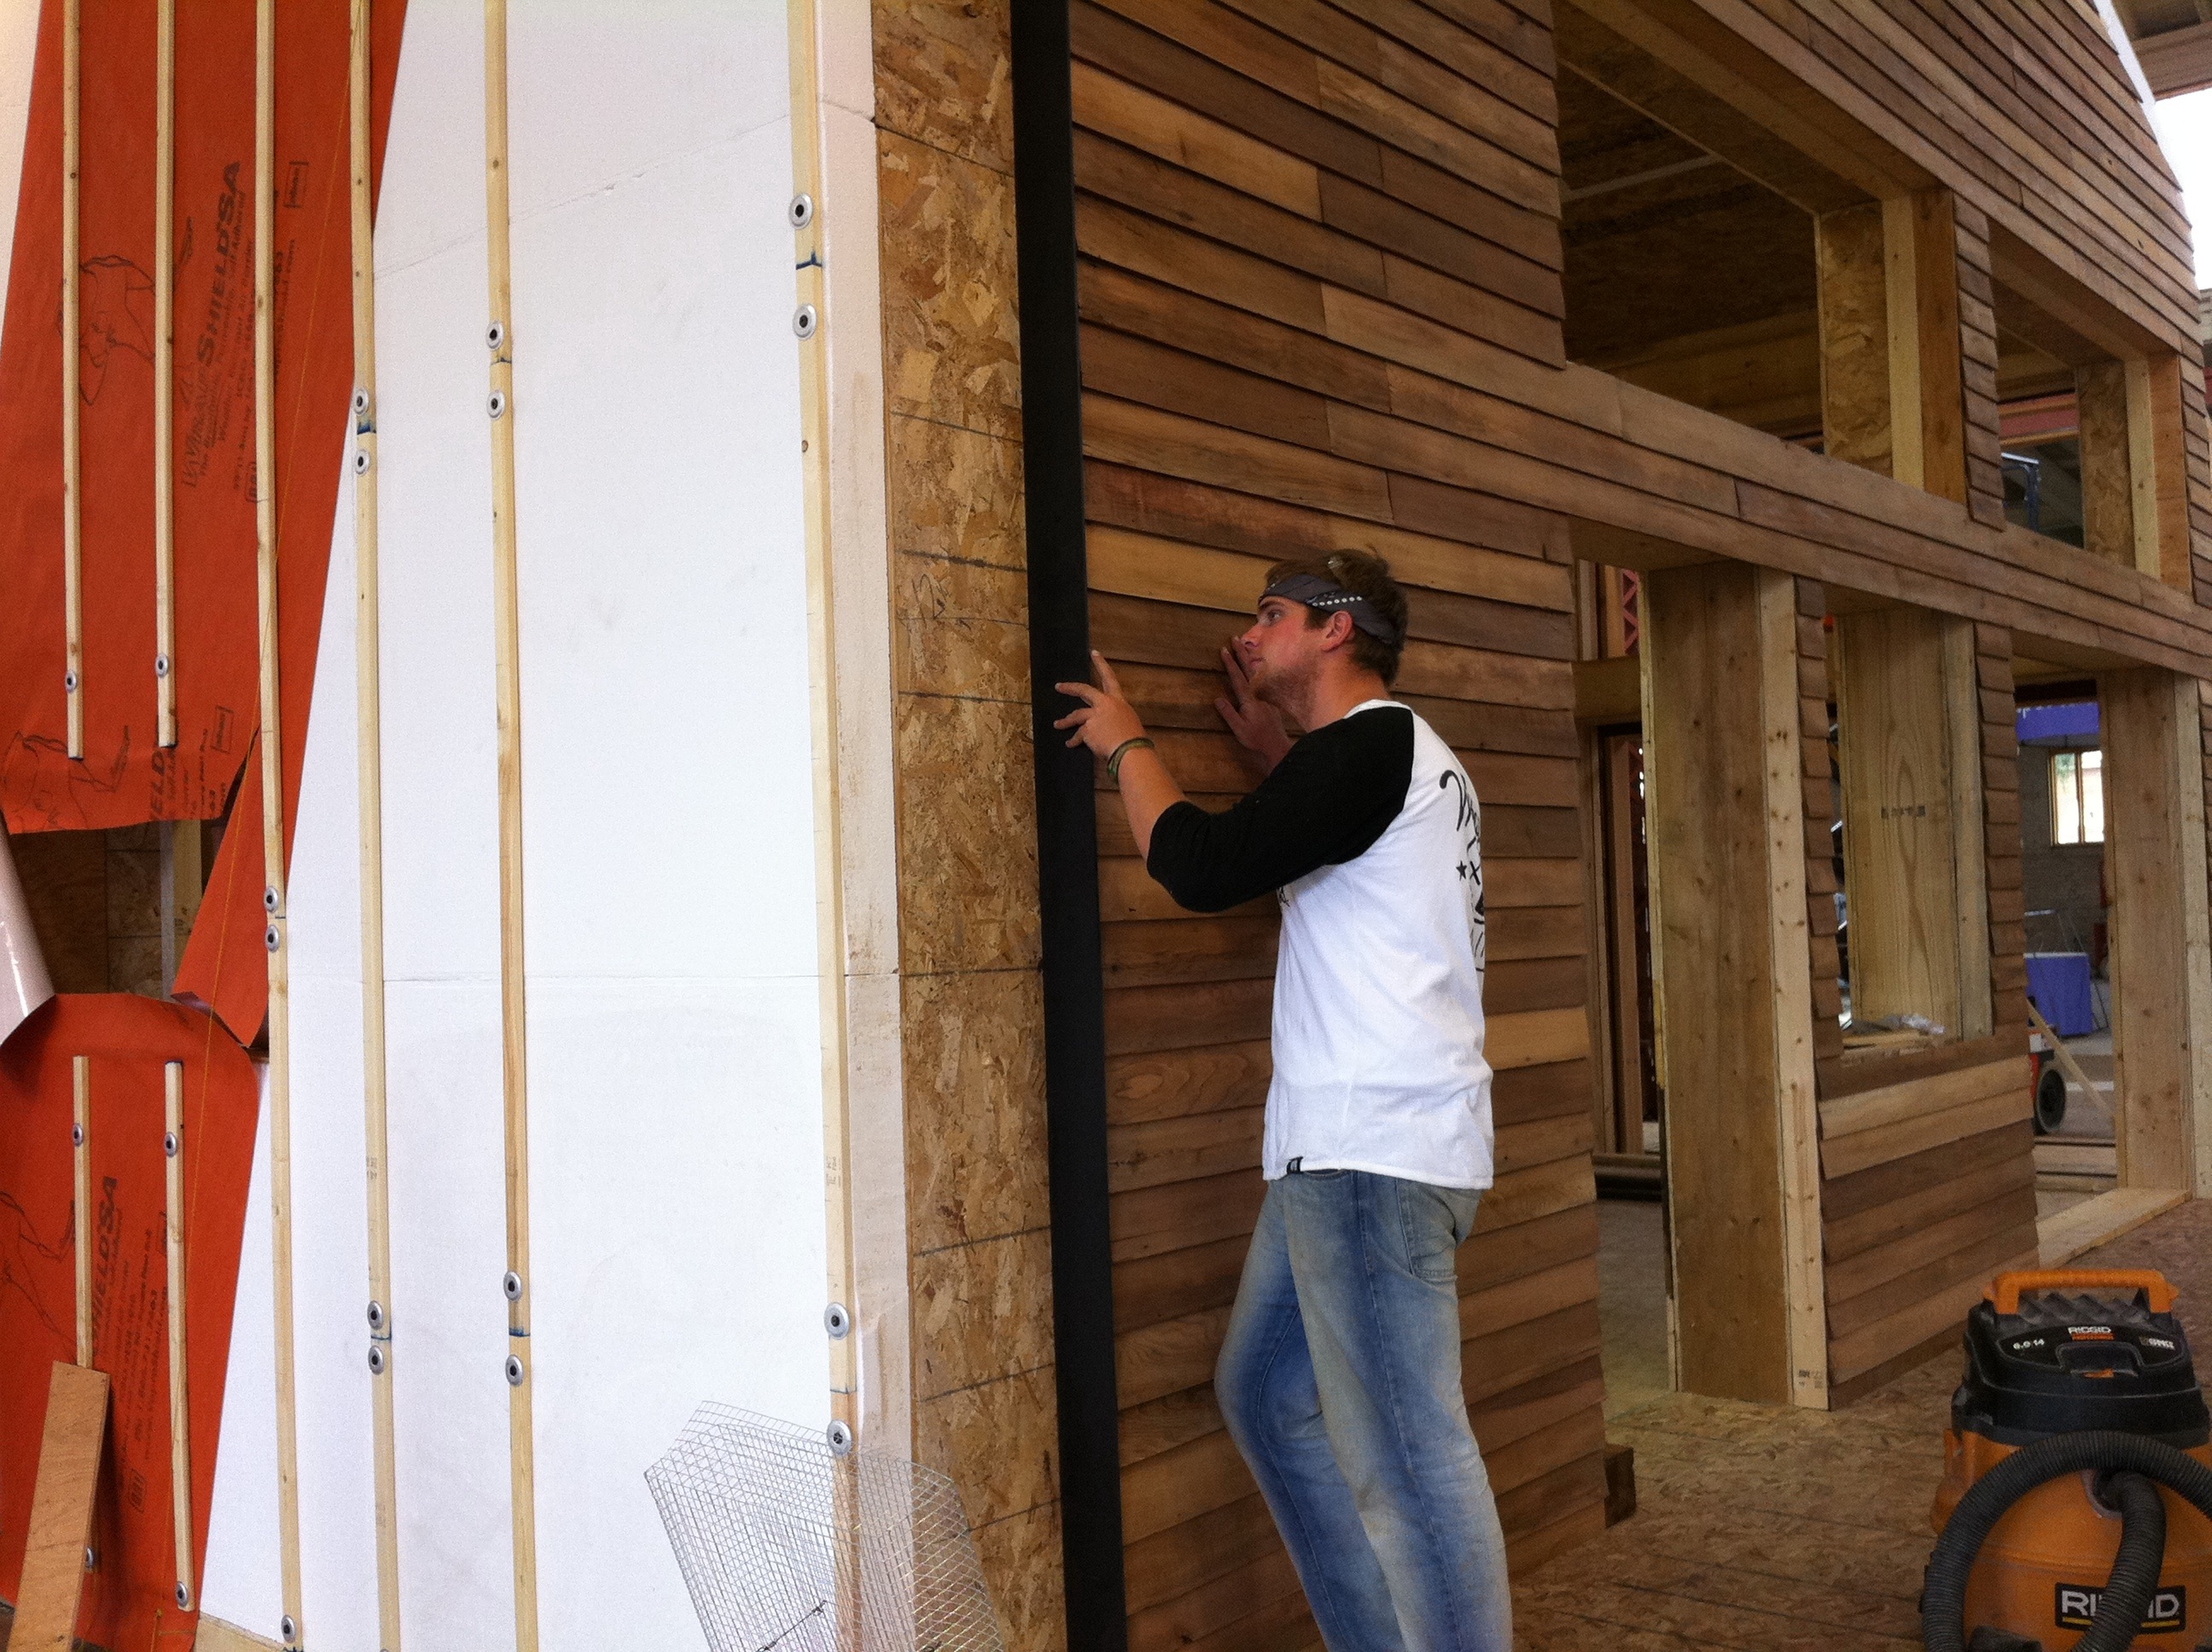
My day started out fine, I was told to close up the window like the all the rest of the windows half plywood, half OSB, and than we would but a strip of pine in the middle to act like framing since there wouldn’t really be a window going in this rough opening. So, I started to measure the OSB and got it in place and screwed it in, when I was informed that I needed to tape the window. Well, this isn’t a problem right, one should not be so sure because I had to tape the outside OSB to thesheathing in the interior. Well, this ment that I needed to remove and cut in half the pieces I has already made, take off the siding on the interior wall, remove a couple of the 2 x 4’s from the side of the window and pry open all four sides of the window. This was not an easy task at all, it took about 5 hours to complete and the tape was probably the worse part. However, it got finished and the window now even has a membrane on the exterior, and the pine in the center to make the window not the best looking thing in the world but a very well insulated and protectedrough opening.
 Taping of the East window
 The window finished
 The uneven fit of the center pine
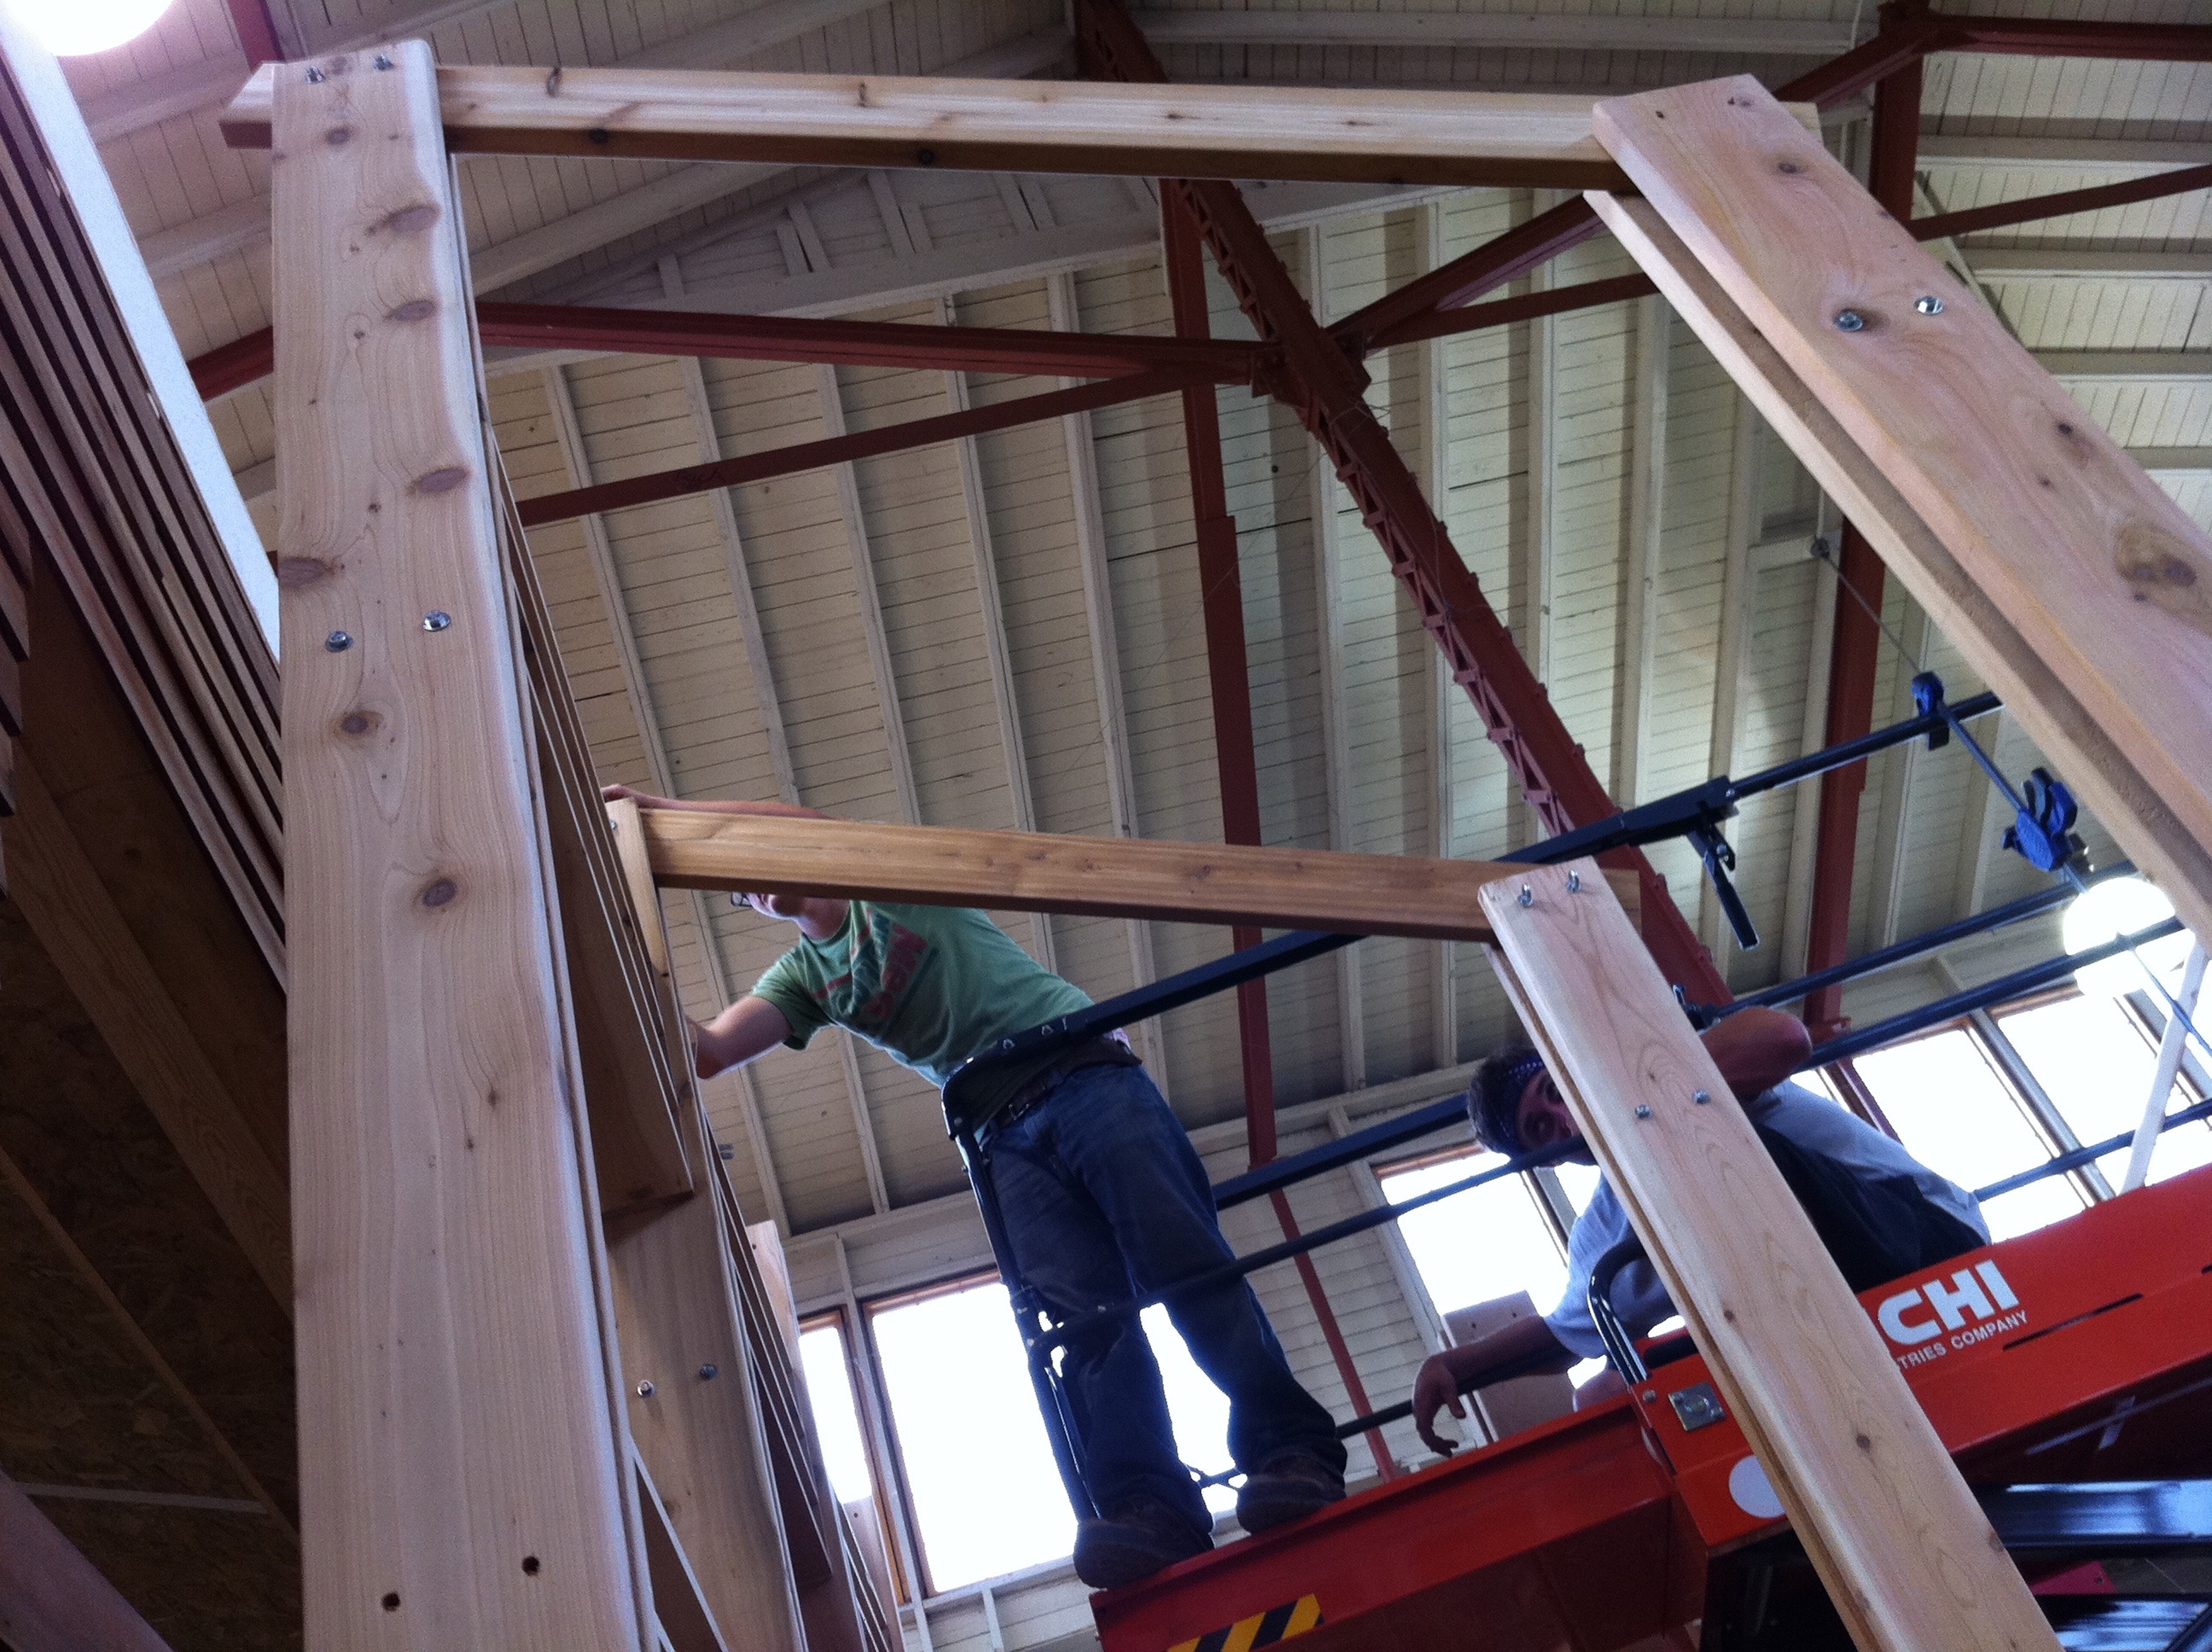
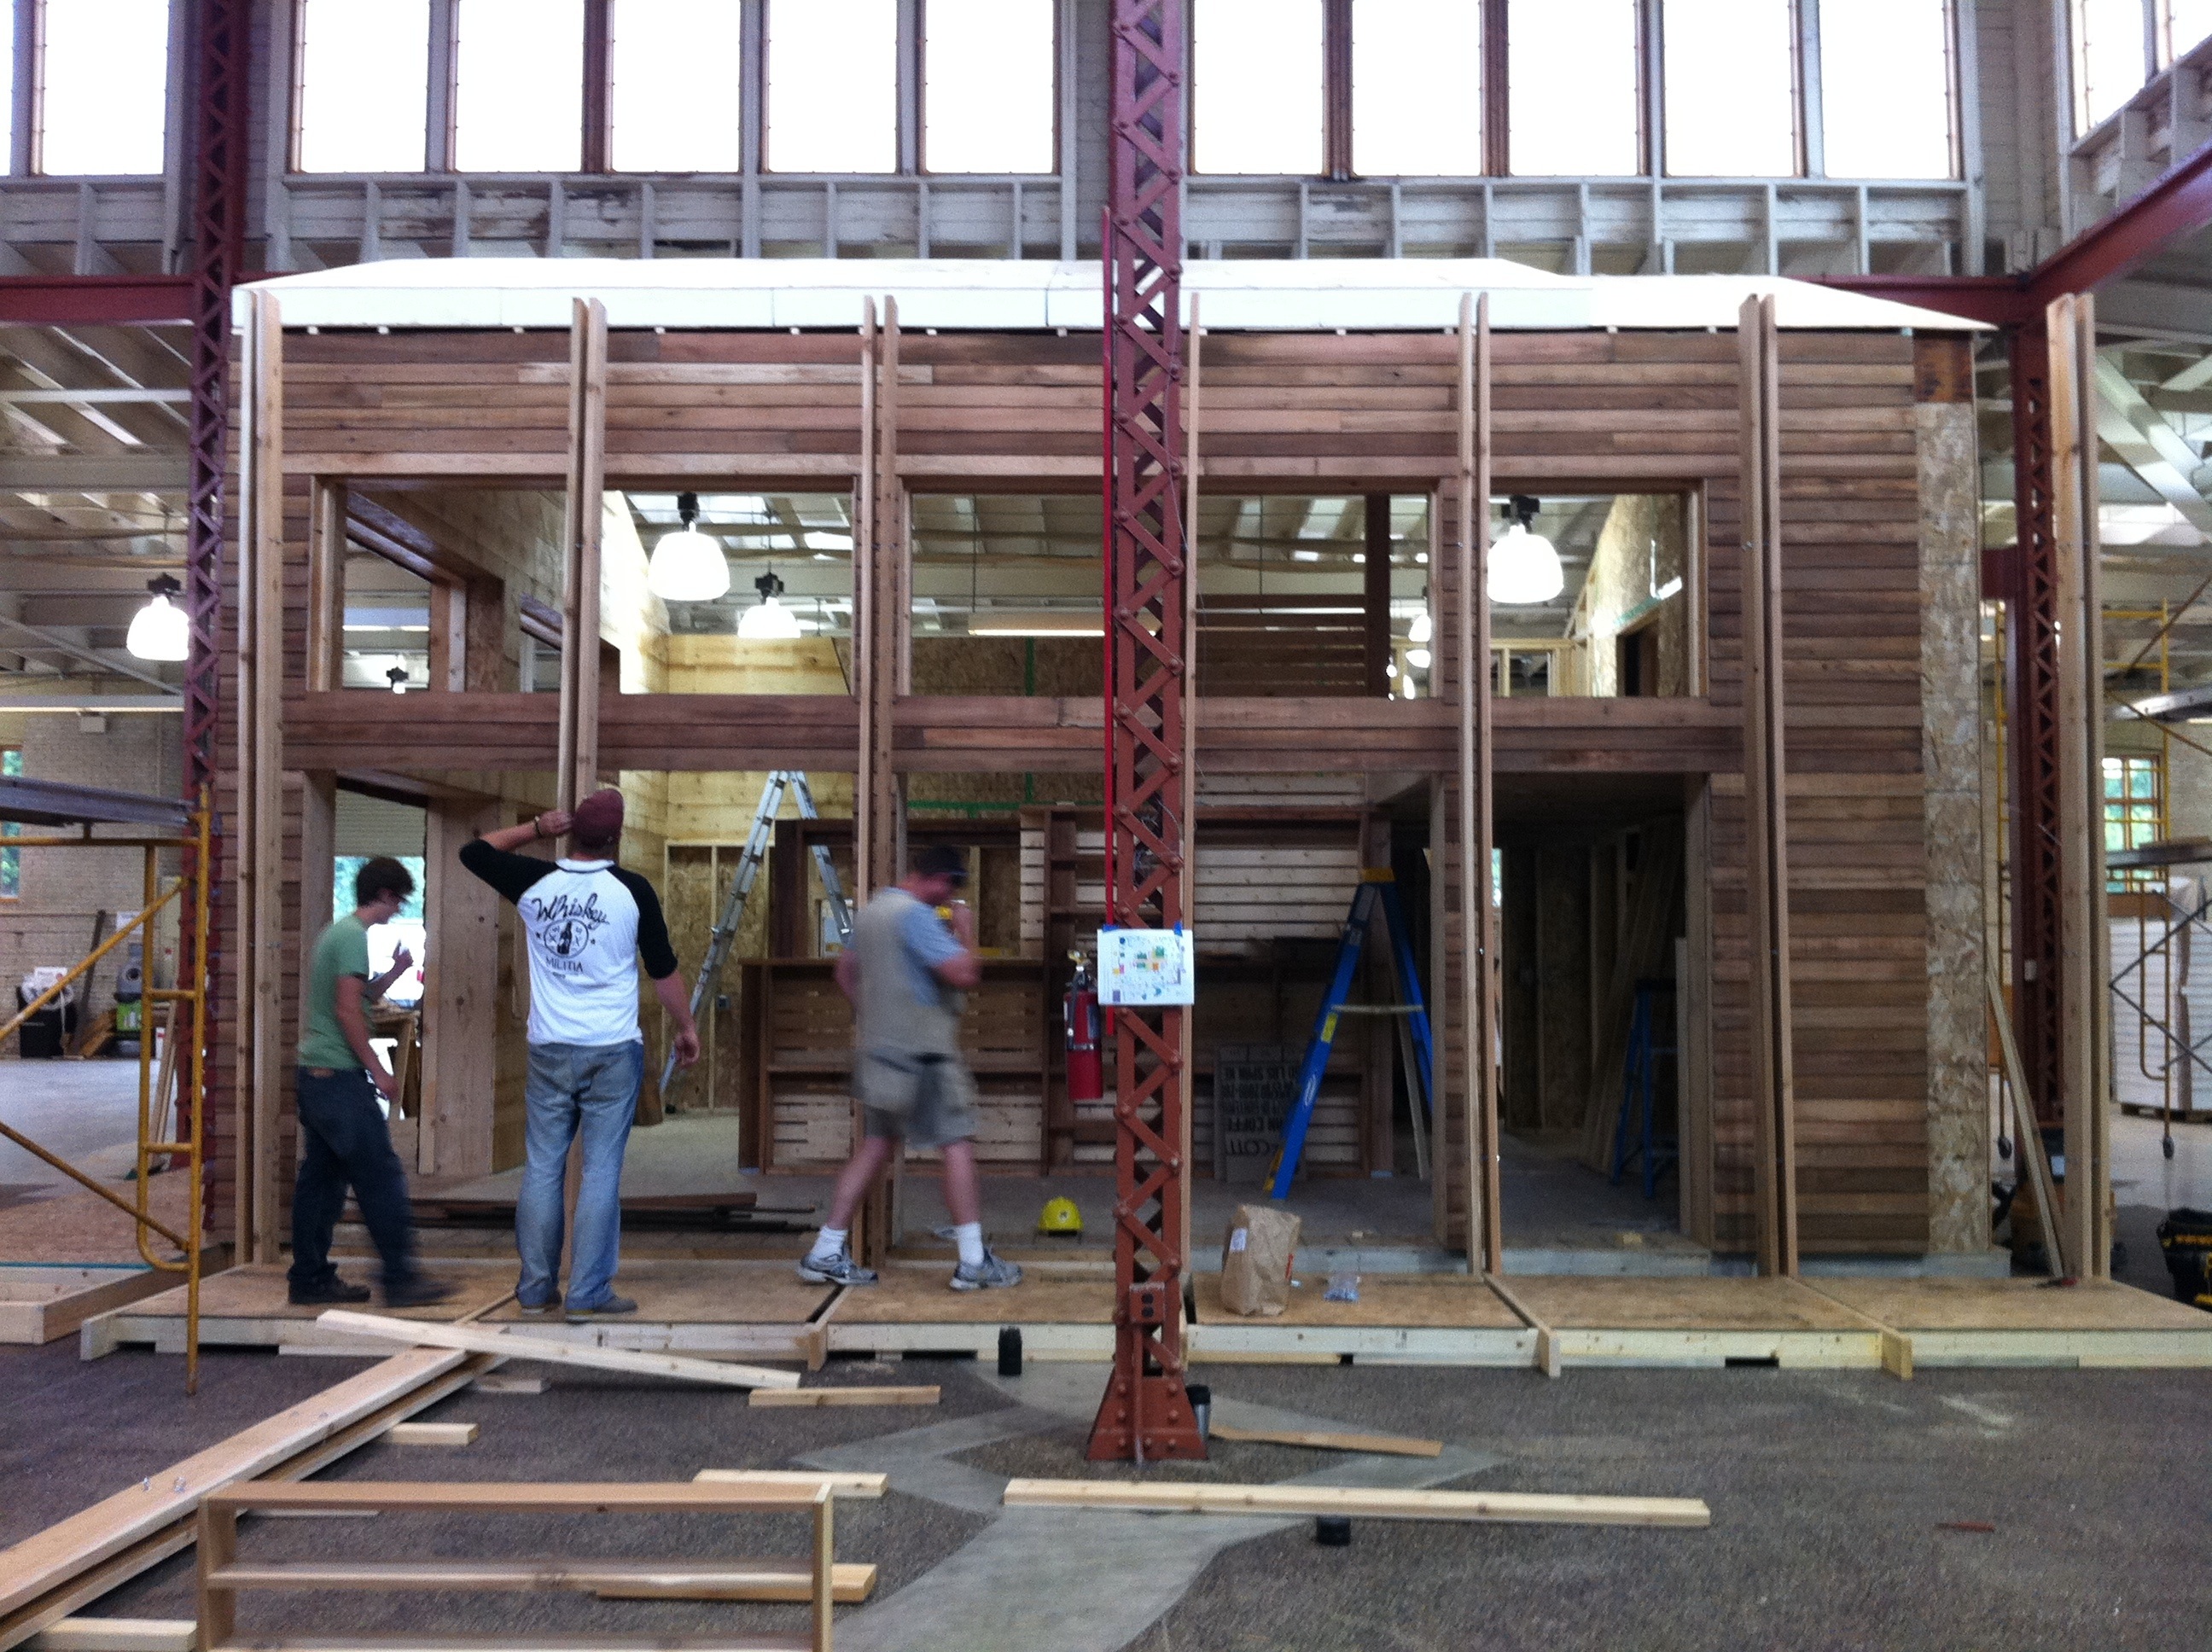
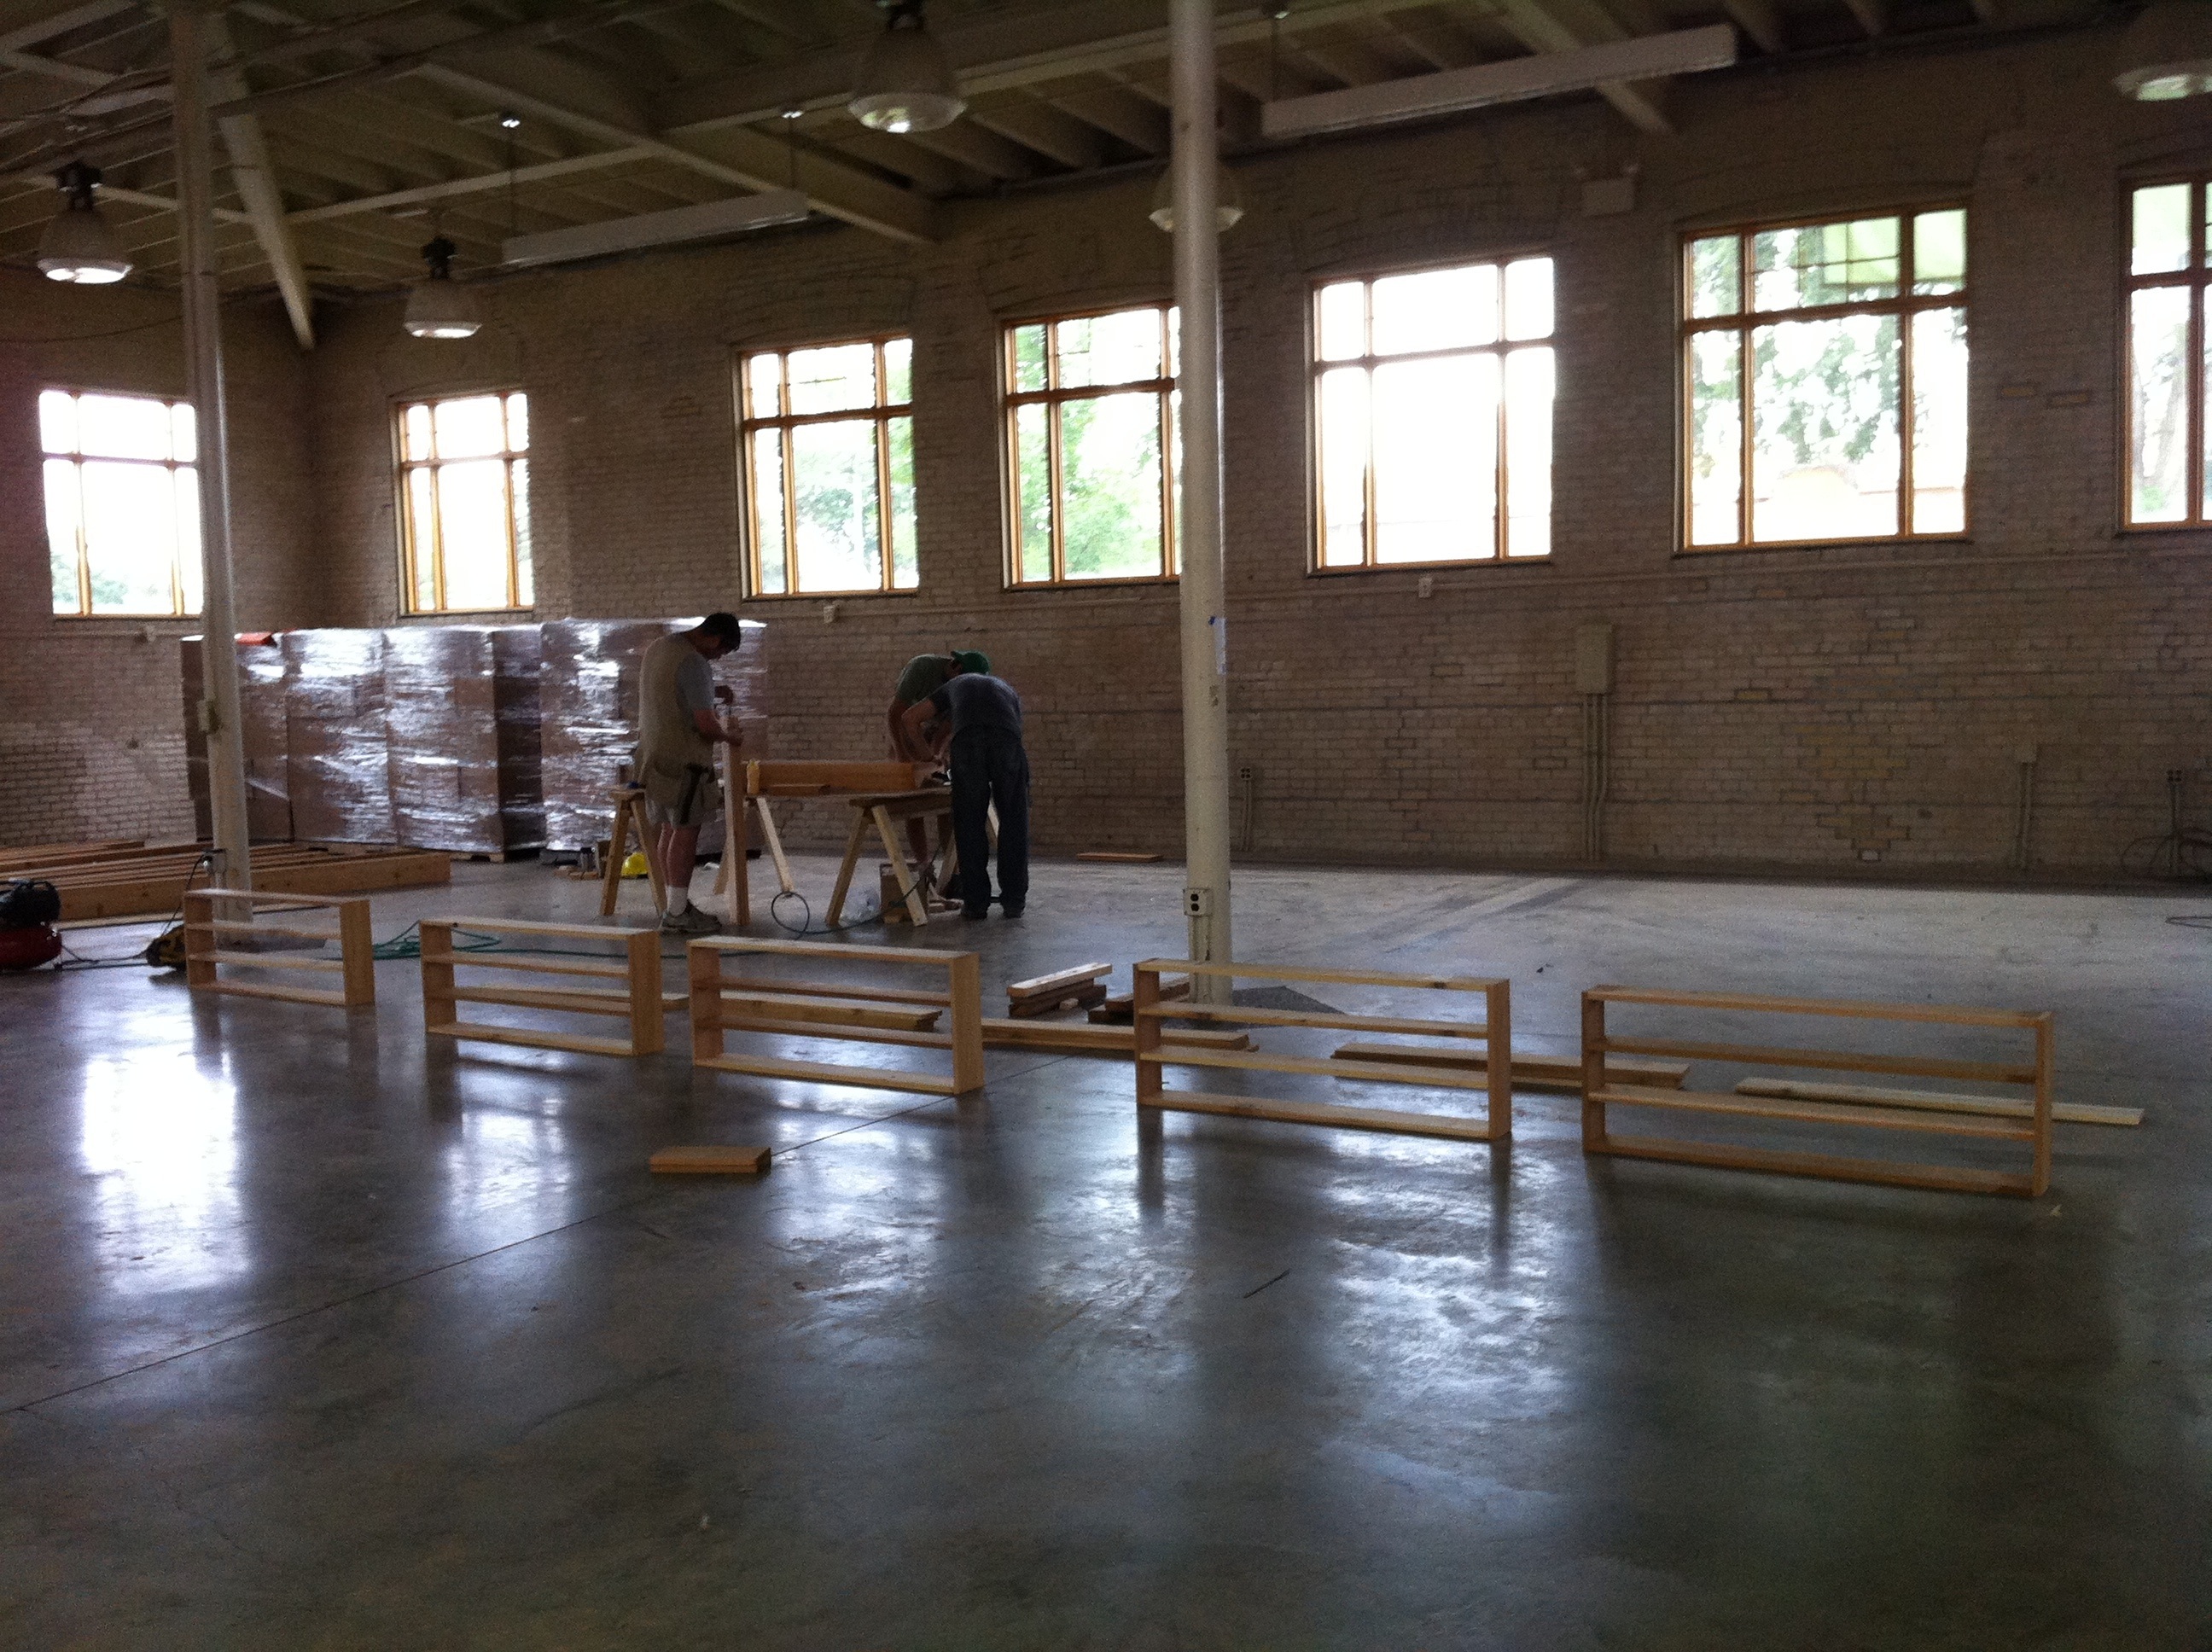
Today we managed to get all of the columns sanded and fastened together. The sanding proved to take much longer than expected but the end result was worth the effort.
 We were pretty excited about how straight we could get them considered the individuals sticks were not so straight to begin with.
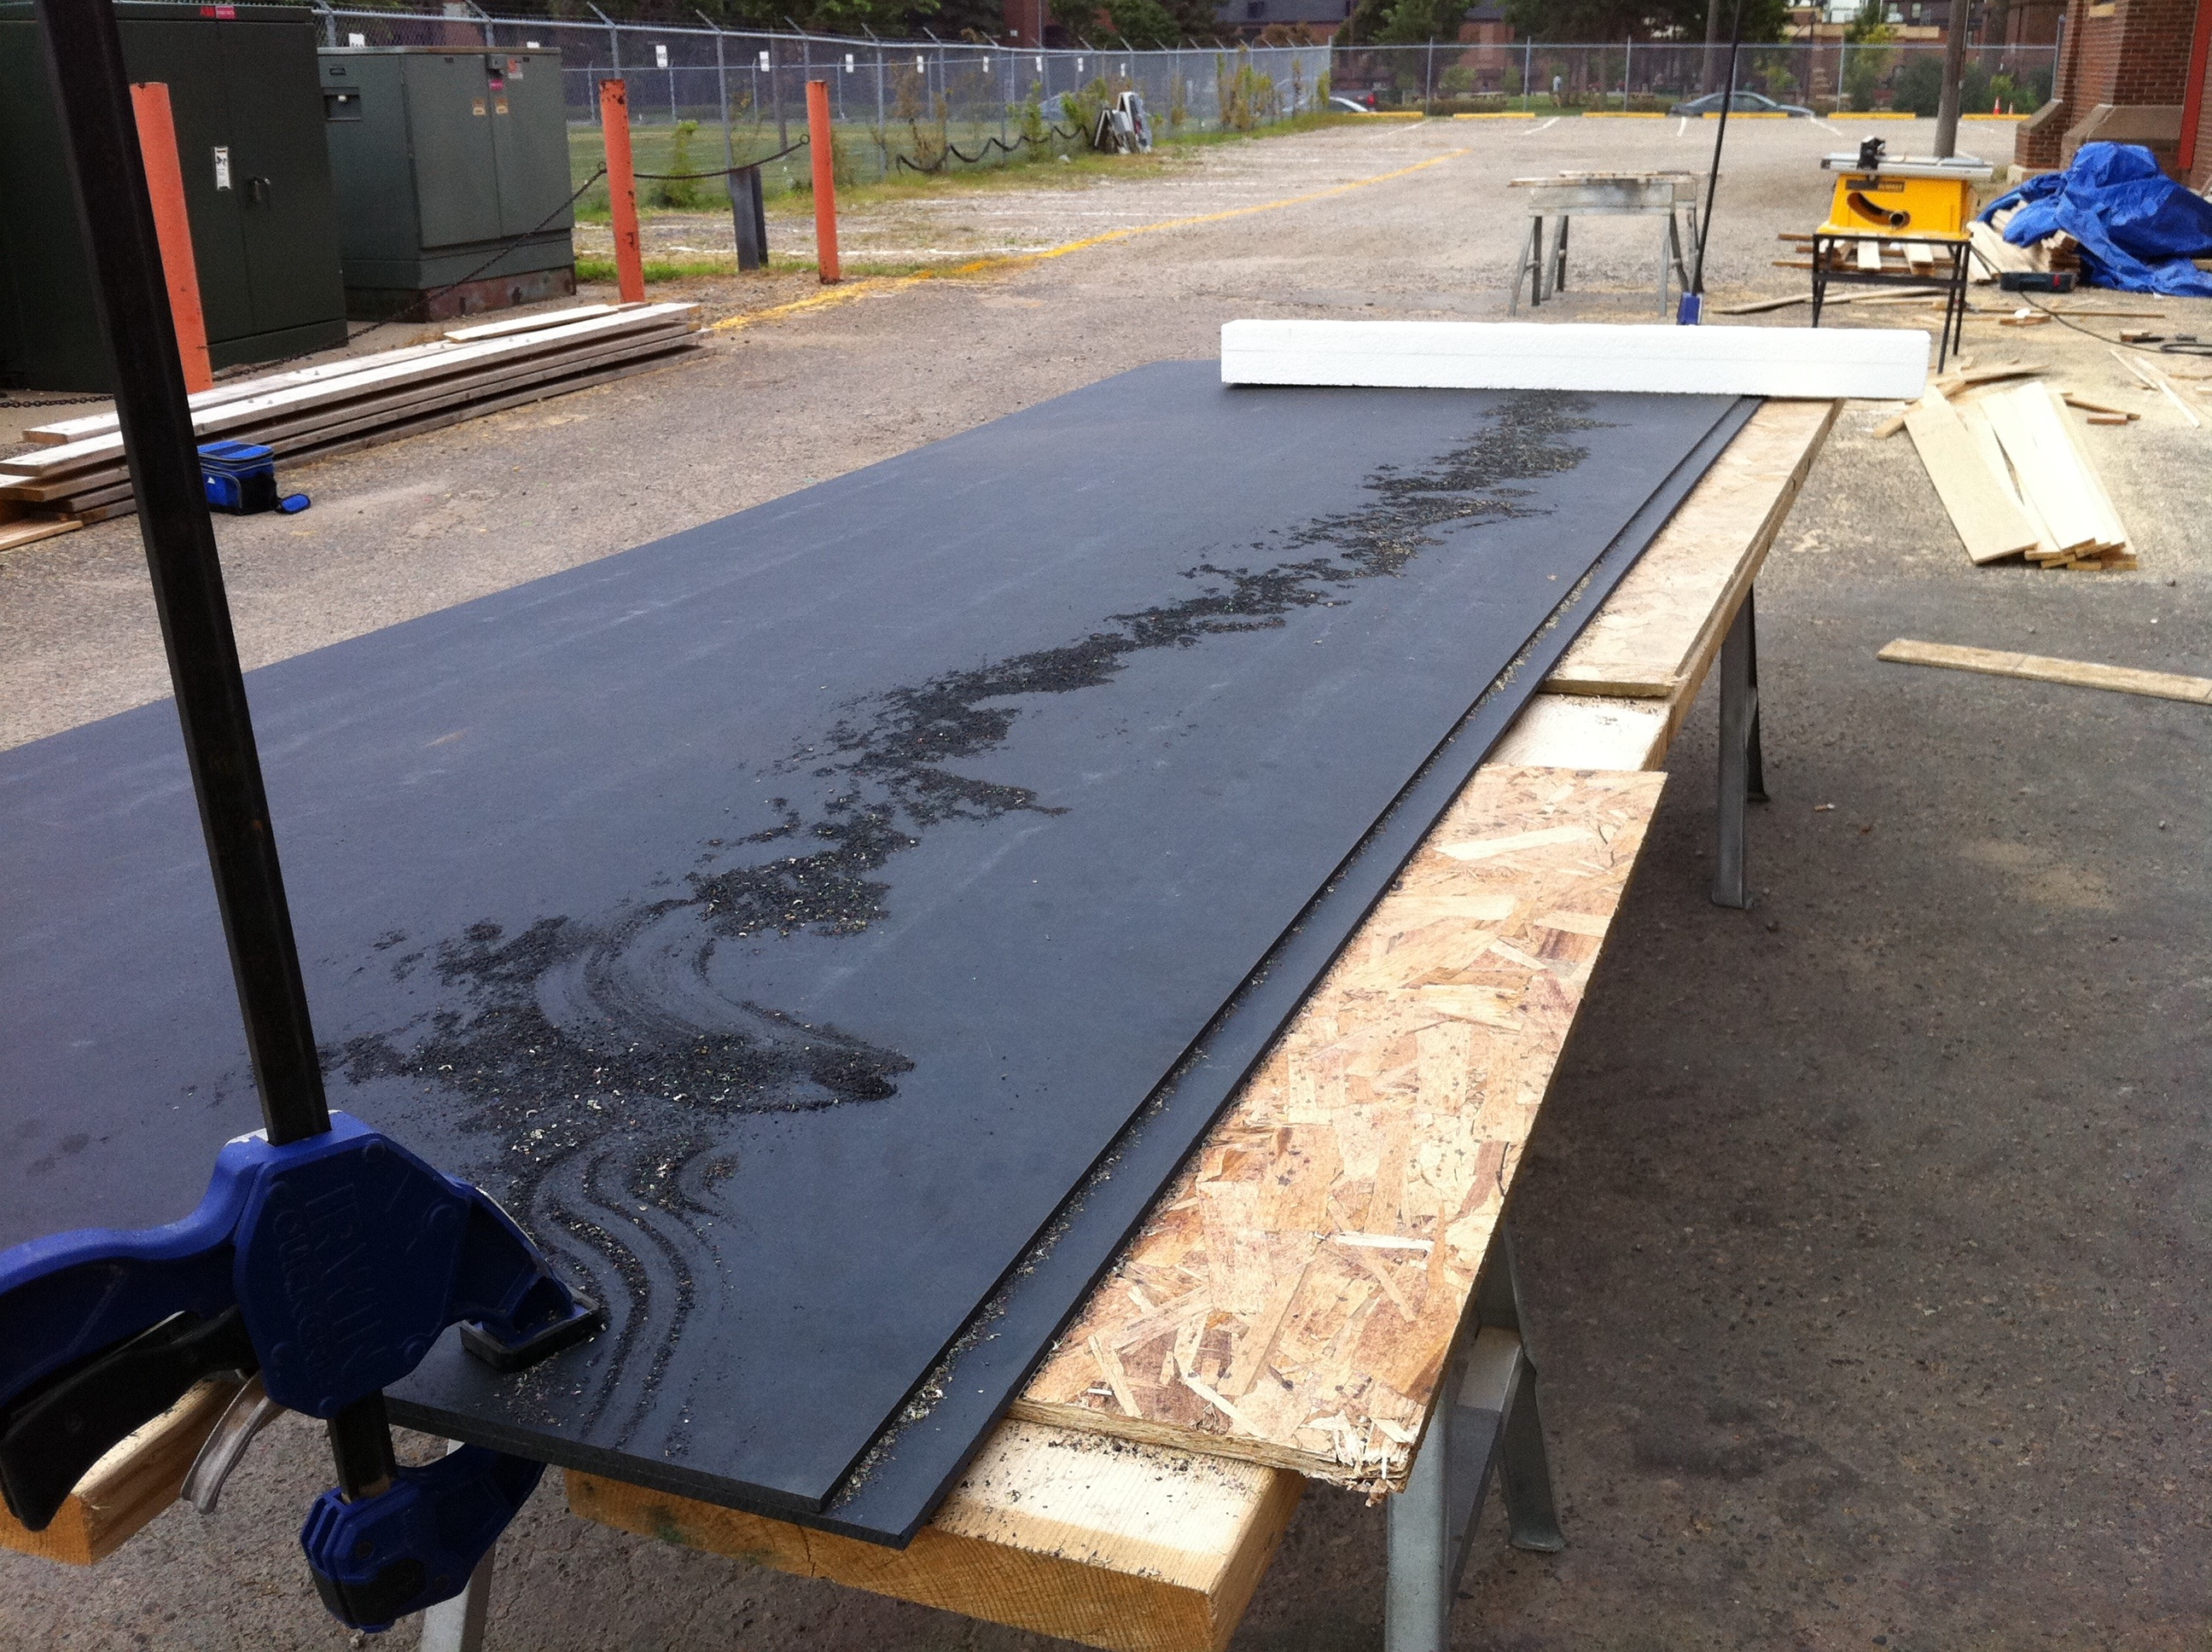
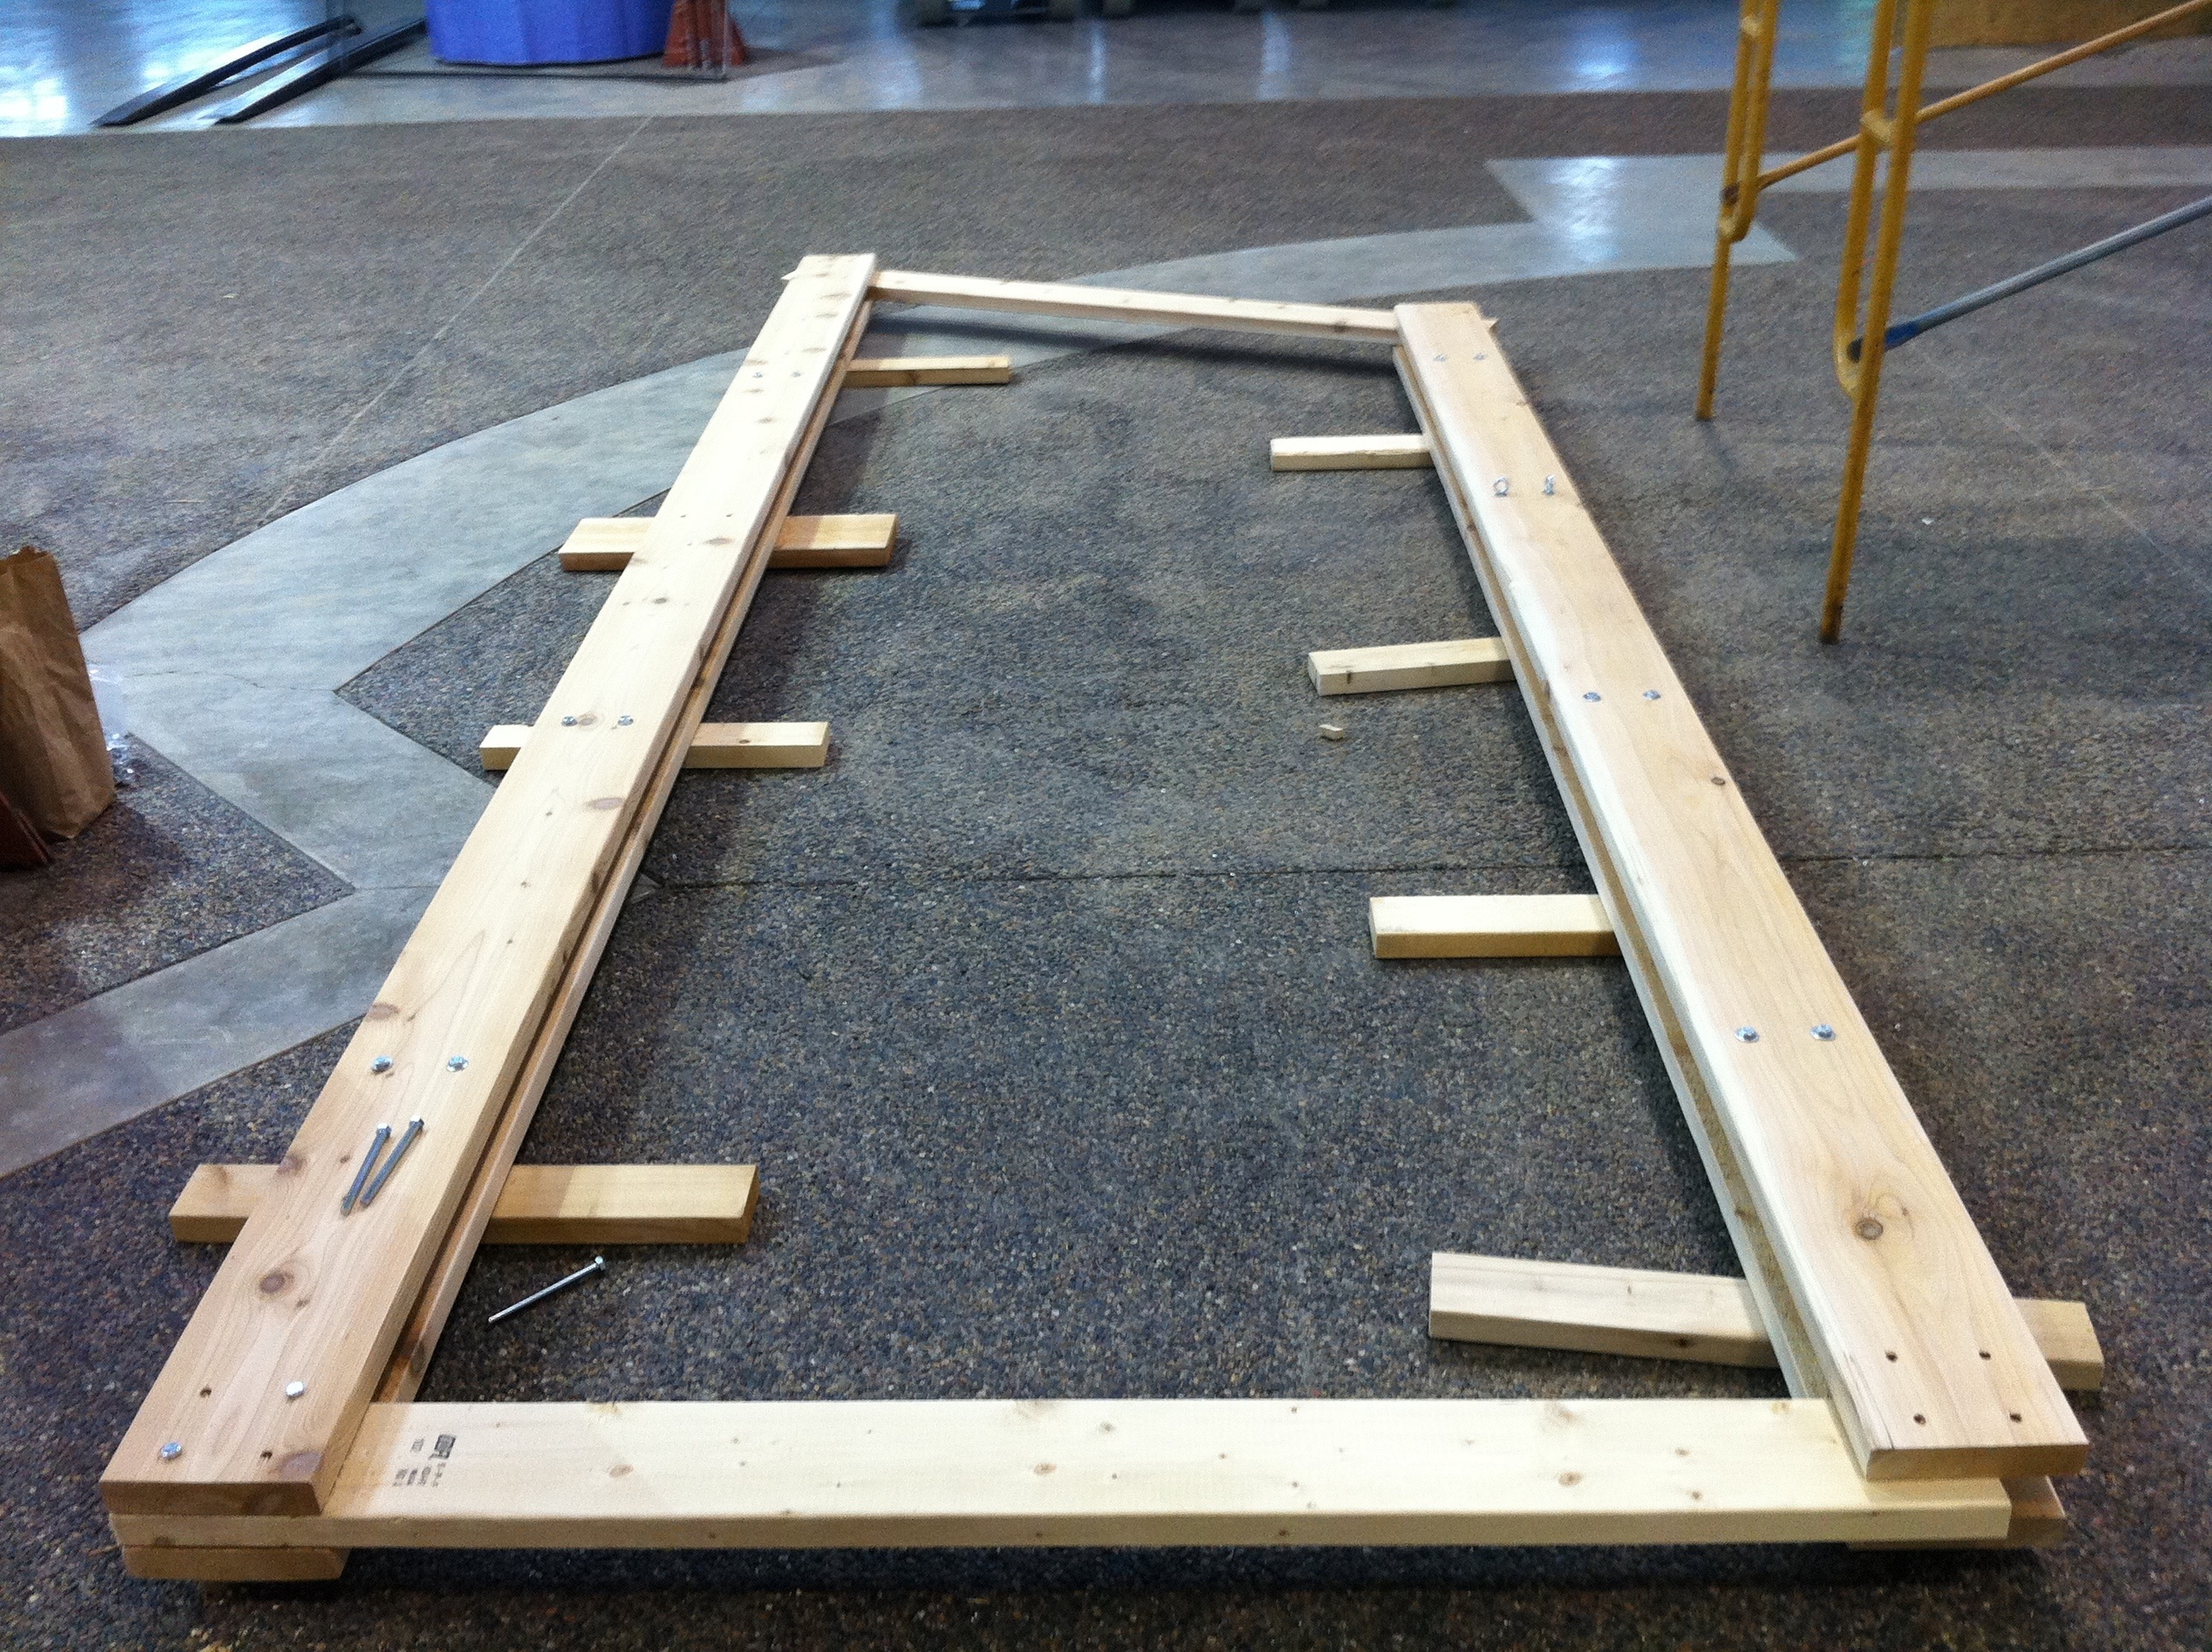
The group also managed to finish the floor for the shading structure. Picking up from yesterday, the pairs of “inner” floors were sheathed with 1/2″ OSB and joined together separated by 2×6 members. The pairs were flipped upside down (OSB face down) and the 2×6’s were attached. The OSB needs to be flush with the top edge of the 2×6, so the photo below shows the bottom side of the floor.

In order to relieve some of the loads on the suspended 2×4 ‘s, we attached some shims from our scrap pile that would increase the depth of the OSB and 2×4 and bring it exactly to that of a 2×6.

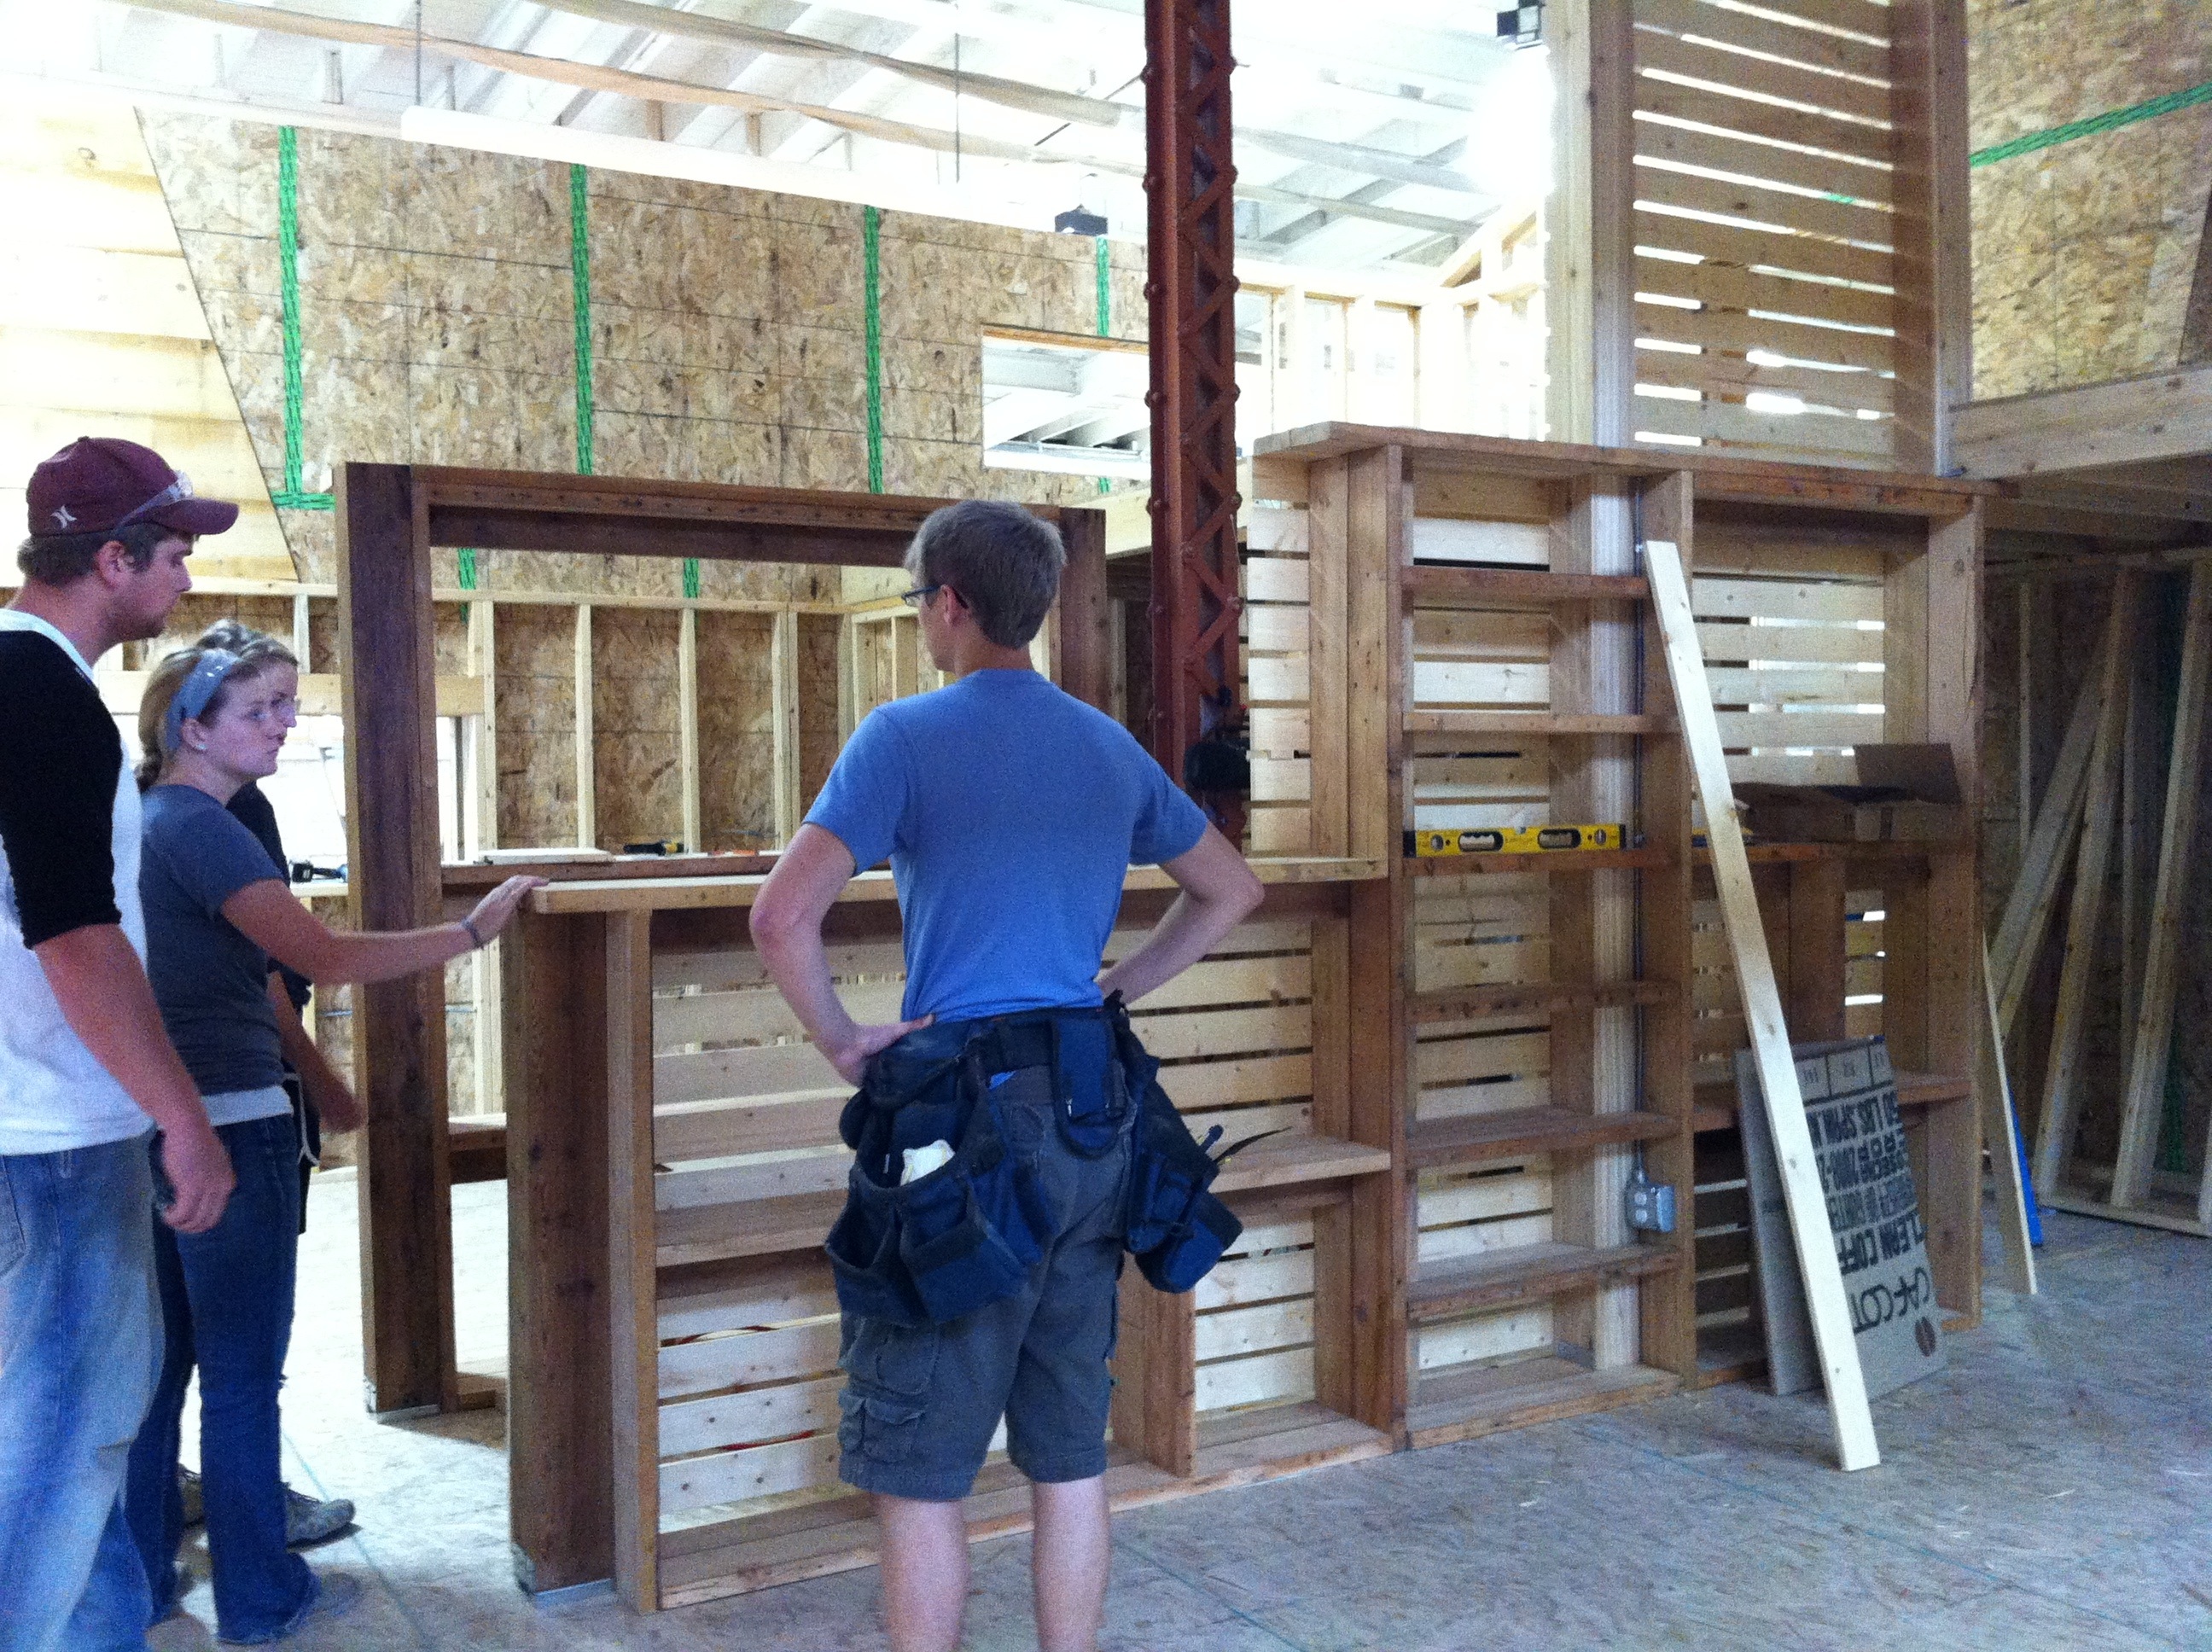
Today we had to park out of the regular lot because they were marking out a parking lot in the gravel. As soon as I got there I got to work on the light boxes. Soon the electrician showed up and we were underway. I got the LED cans in and finished up the rest of the wiring runs. We still have a couple issues to work out but all the electrical is looking great. Several trucks dropped of materials today and we got out mechanical system today. It was a bit more confusing than I expected. No lego booklet with this one, and a lot of the parts are labeled in german. The robot of a device was planned out on the floor so we could test fit everything. We scratched our heads for a while and put it the robot back in its box until tomorrow. Andrew and I finished up the shelving while the slats went up on the other side. It was rewarding to finish the south side of the shelving. It was exactly what Andrew and I had drawn up. It had a progression up even though no stairs existed. Tomorrow will be busy, I can’t wait to see this mammoth of a sliding door. Word in the passive house is that the sliding door weighs about a thousand pounds.
Today I jotted down some quick arithmetic to see if we have enough siding left to cover portions of the North and East face of the house. I was accused of being a mad scientist.
